exterior

3 Steps to Creating your Living Wall by Paula

Now that it's summer it is time to move your gardens and plants back outside...but have you thought about moving your gardens ON the walls? Yes, we're seeing everyone pick their tomatoes & peaches and create delicious meals from their new sprouts, but we're also seeing a new craze...vertical garden walls [or living/green walls as some people call them]. People are literally buying hundreds of succulents, cacti, and grass roots and planting them on their wall. Sounds crazy, but we love it!

This live wall concept has been around for a while but has recently become extremely popular.

With the warmer weather coming, we have been planning this post (since it's best to plant during Spring & Summer), but recently Paula visited the Dwell on Design Exhibit in Los Angeles and saw various, luscious live walls to inspire the blog even more!

live wall-living

First of all there are 3 main things to consider when installing a live wall. We will walk through each one of them to help you create the best one for your home!

1. Space

How much room do you want to allot for your living wall?

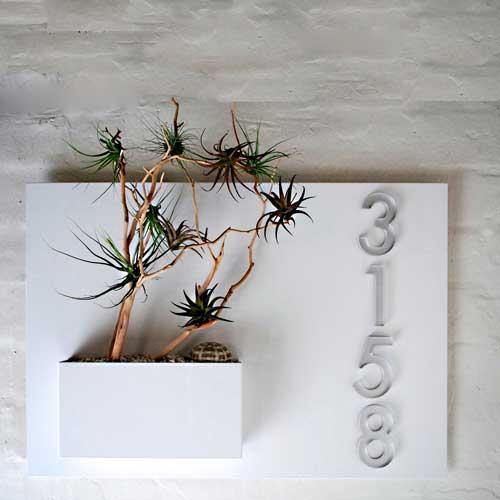
There are wall planters that are as small as one little vase--which look great next to your front door, or inside by your office desk.

pottedstore1-living we are scout-living

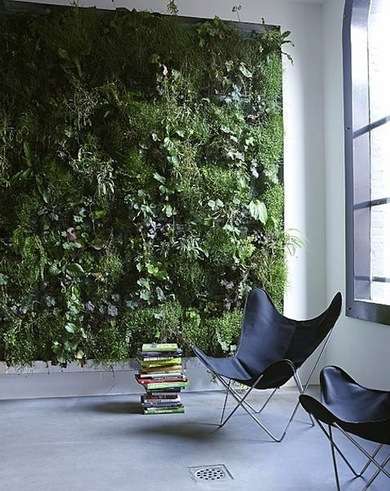
And then there are HUGE planters that can take up an entire wall on your back patio, or interior living room.

april and may studio blog-living contemporist blog-living

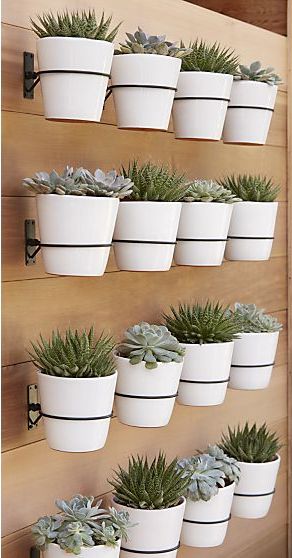
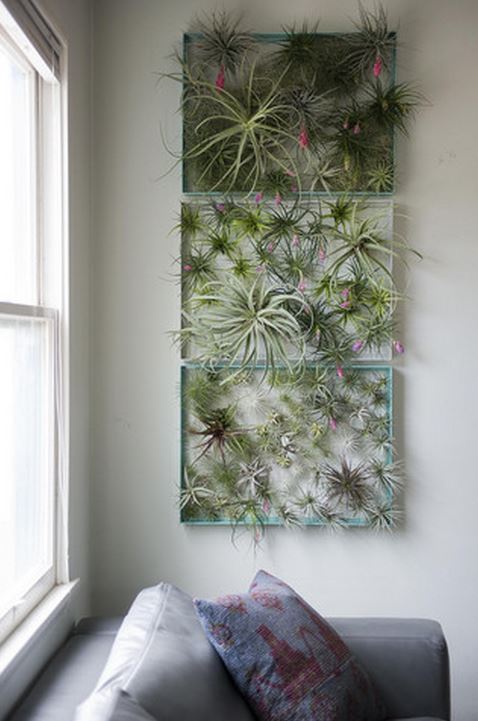
Of course the most options lie between the small planters and the huge walls...From pots you can attach to your wall, to wooden frames full of succulents, the options really are endless.

crate and barrel-living etsy-living

2. Cost

Obviously, the bigger the plant wall, the more money it's going to cost. If you are going to go really big, we suggest hiring a professional. This will allow you to customize the perfect design for your space without wasting any time or resources.

Many of the larger wall systems are plumbed with a water drip system (which is hard to self-install) to keep the plants well fed and consistently happy across the board.

green prophet-living

If your project is smaller and does not need professional help, but you don't want to start from scratch, there are affordable starter kits or pre-made gardens [for example, the image below is multiple modular pieces from Succulent Gardens Company]

succulent gardnes1-living

Another easy-to-use wall planter is Skale Greenwall. You can install it & customize it yourself [for a pretty penny]. But may be worth  the cost, because the result is beautiful!  Why reinvent the wheel when you can purchase ready made systems from the pros?

skale greenwall-living

Now there are hundreds of companies & landscape architects that will build a vertical garden for you (we suggest looking up local landscape companies). While this may not save you money, it will save you a lot of time. Live walls can be tedious to build depending on which plants you use...which brings us to our next point!

3. Types of Plants

Now the fun part! Picking out your plants.

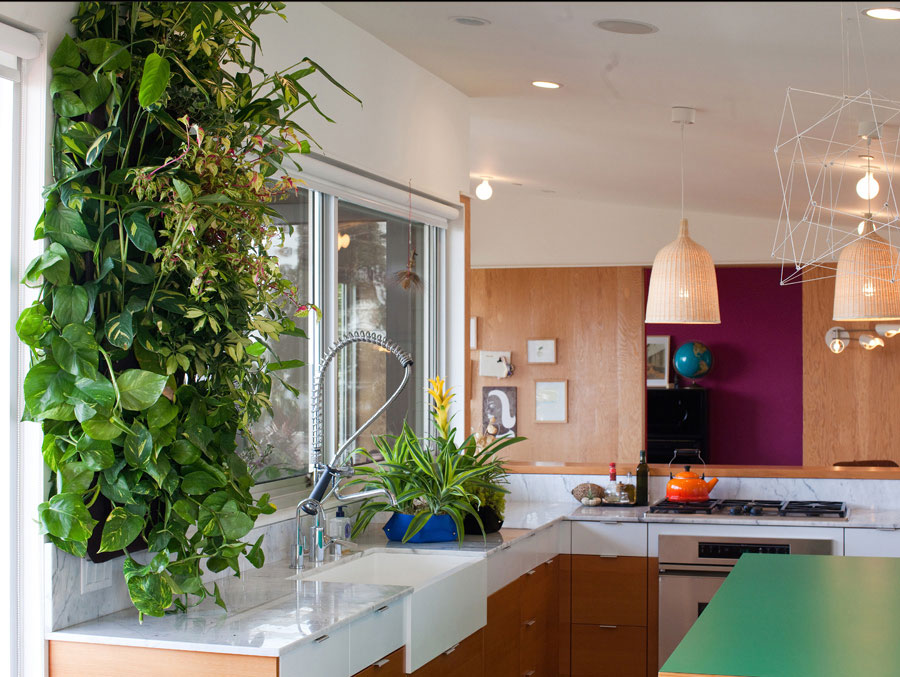
People typically think of succulents and cactus for their green wall plants, but grass & more leafy plants can be great for taking up more space with less costs.

wollypocket3-living living wall system-living

It really doesn't take a lot to create an attractive succulent garden. Since they are from the same family of plants they all seem to compliment each other greatly. Creating clusters of the same types of succulents will make for a very eye-catching display. Just be sure the succulent wall has plenty of sunlight since that is what makes these plants thrive.

flora grubb-living

You may also consider using your wall planter for herbs and flowers...Especially if you live in an apartment or office with no outdoor gardening space, this can be an amazing resource for cooking and for extra fresh air!

williams sonoma-living

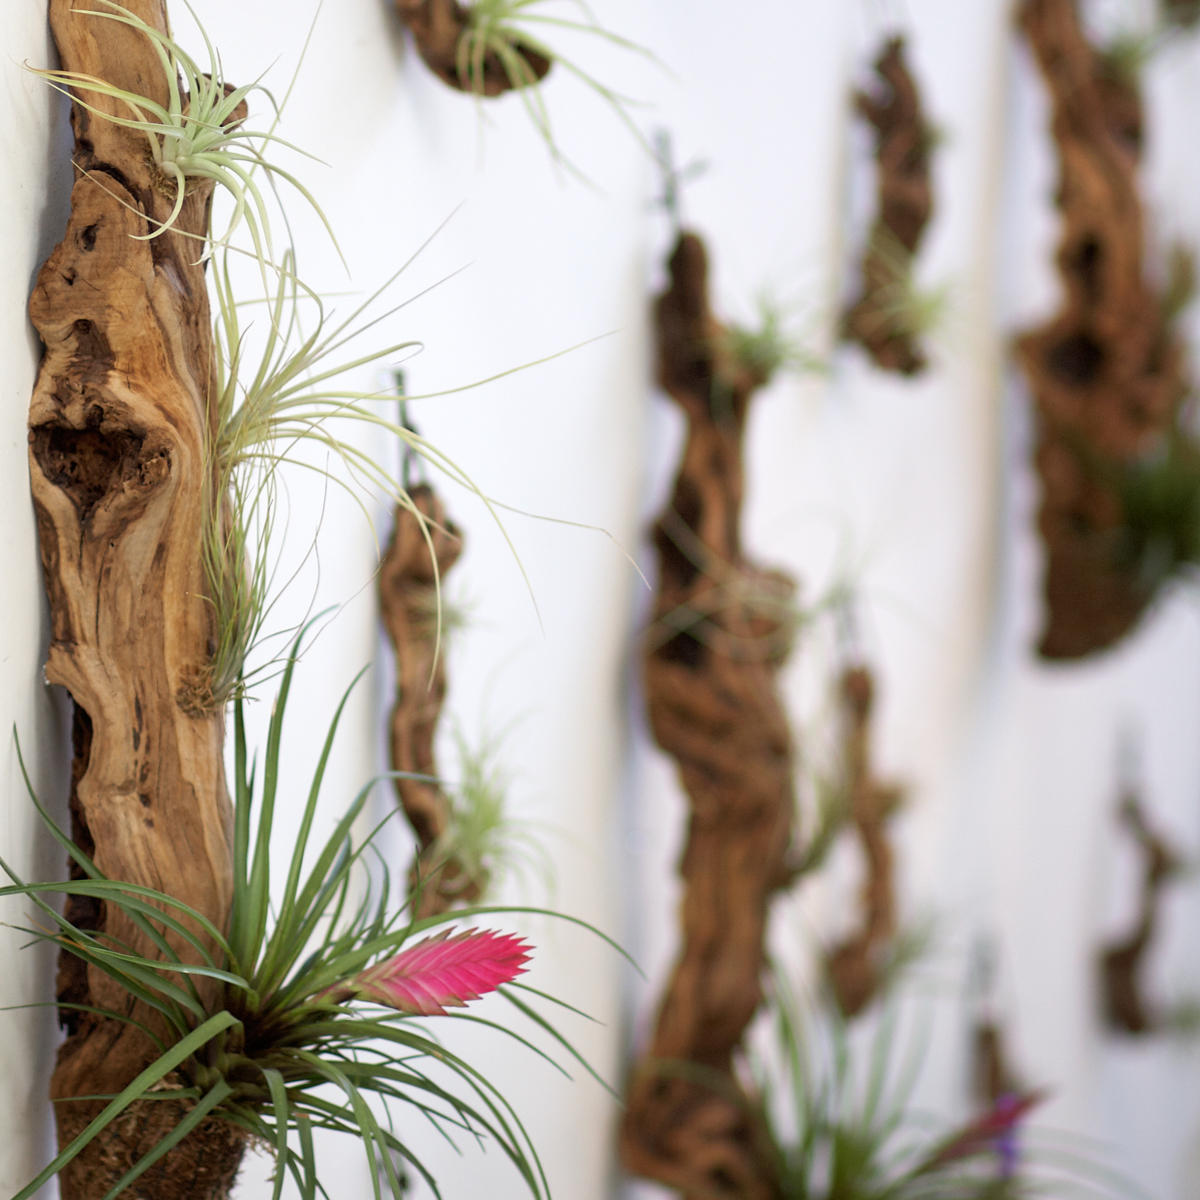
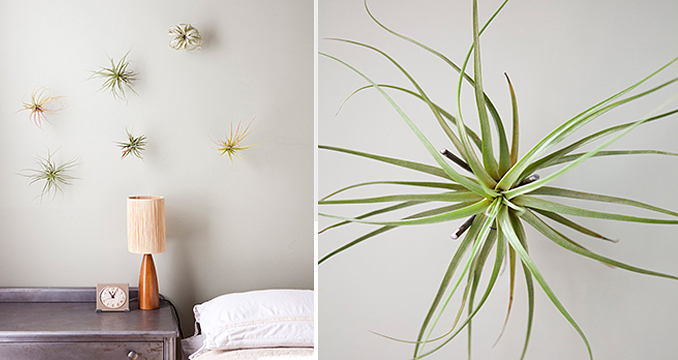
Lastly, consider air plants! These are the easiest plants to care for and they are very eye-catching and appealing in any room! We always love the fun touch they add.

flora grubb air plant-living airplantman-living decorating your small 2-living

If you are still hesitant about taking the green wall plunge, consider the many benefits:

Improved air quality, reduced energy costs, reduced noise levels, & of course amazing aesthetics.


If you would like a live wall in or around your home and don't know where to start, feel free to reach out to us! We may not be landscape designers, but we are true Pros when it comes to space planning and balance within your room or space.  We would love to work with you to create the best look/most complimentary space for your new wall!

Click here to see more blog posts by Paula Ables Interiors.

5 Tips for Picking a Ceiling Fan by Paula

5 things to consider when looking for the best ceiling fan for your room:

Ceiling fans...are they a necessary evil or a stylish accent to the room?

We all know how hot it gets in the Texas Hill Country summers!  To get some relief, many of us rely on ceiling fans to keep our homes comfortable.  Running a ceiling fan can make a room feel about 5 degrees cooler than it actually is.

If you are ready to upgrade your existing fan or looking to add one, here are 5 things to keep in mind before you make the purchase:

1. Size of your Space

It is easy to underestimate the size of the fan you need.  A 48" fan may sound big but if you install an undersized fan you won't get the air circulation you need to cool off.

A good rule of thumb is:

  • Rooms less than 150 sq. ft. - Use a 42-48" diameter fan
  • Rooms 150-350 sq. ft. - Use a 52-56" fan
  • Rooms greater than 350 sq. ft. - Use at least a 60" fan or you can purchase 2-48" fans

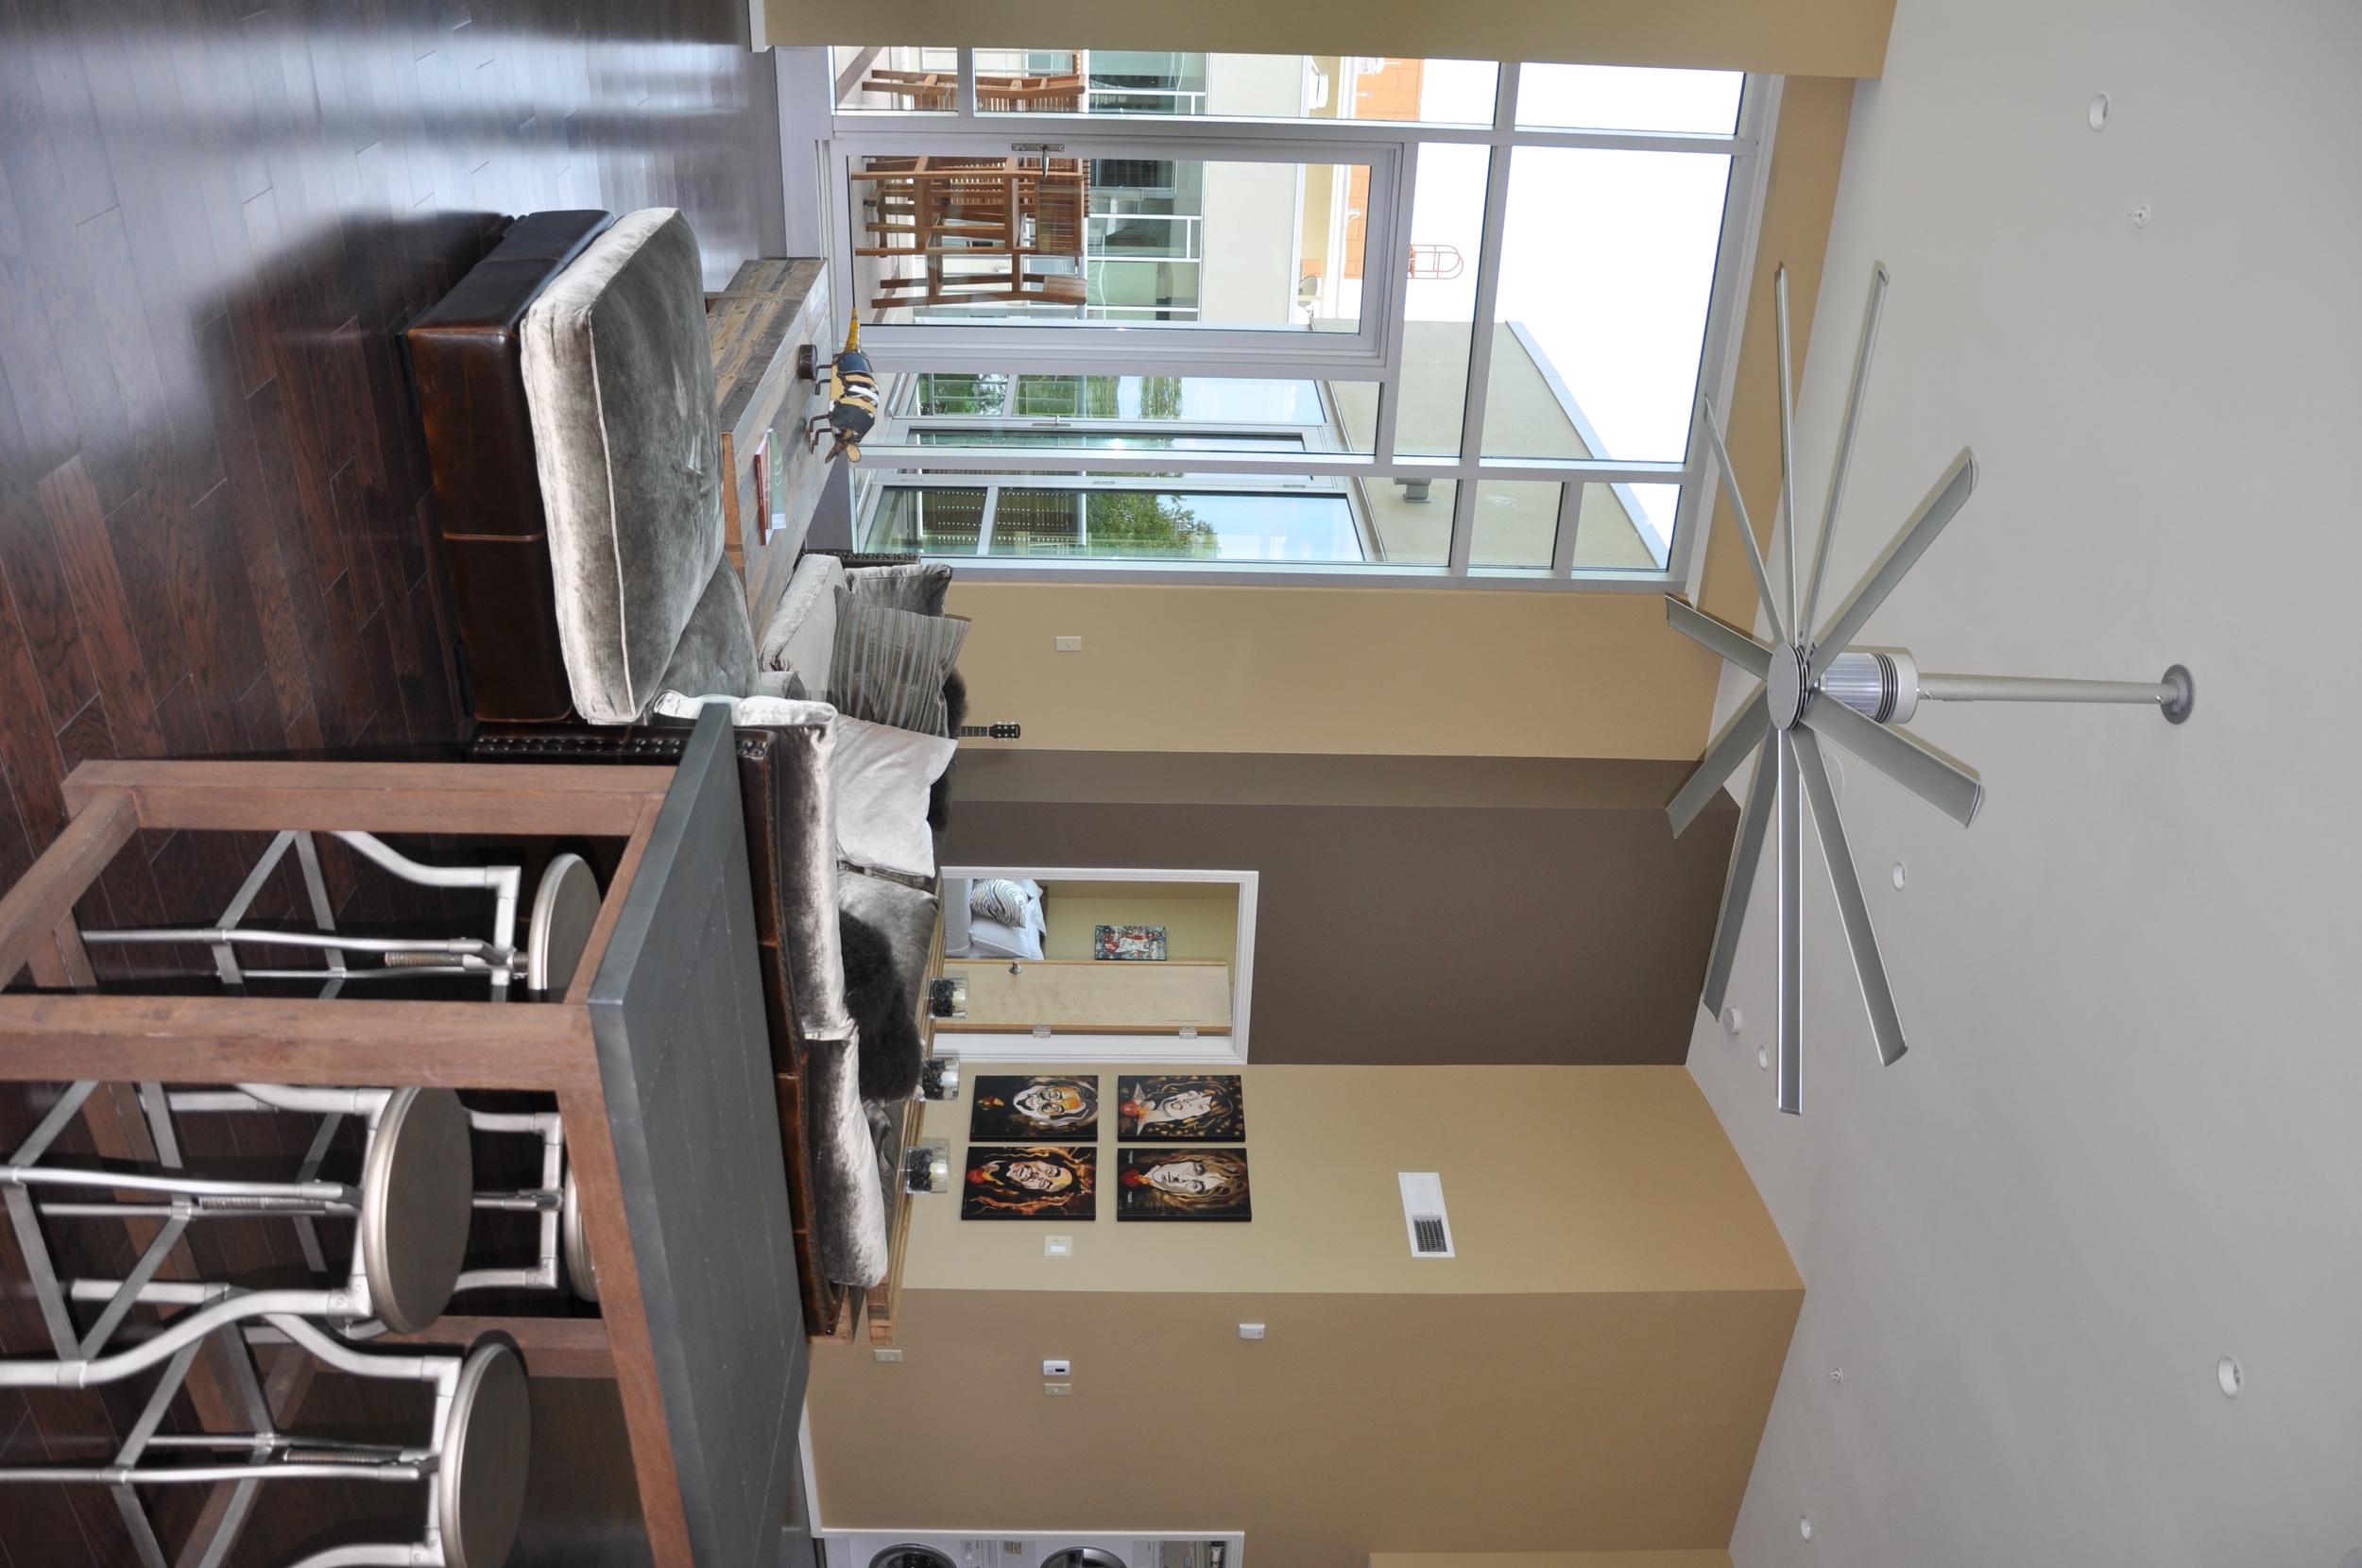
Below is an example of a large open-concept living, dining & kitchen space, where this 8 ft. Big Ass Fan serves as both a cooling unit and a WOW factor.

Isis- Engel's condo

2. Ceiling Height

When selecting a fan for your space, know your ceiling height.  If it is an 8' ceiling, your best solution is a ceiling-hugger style fan.  If your ceiling is 10'+, you may need to add additional down rods to accommodate the extra height.

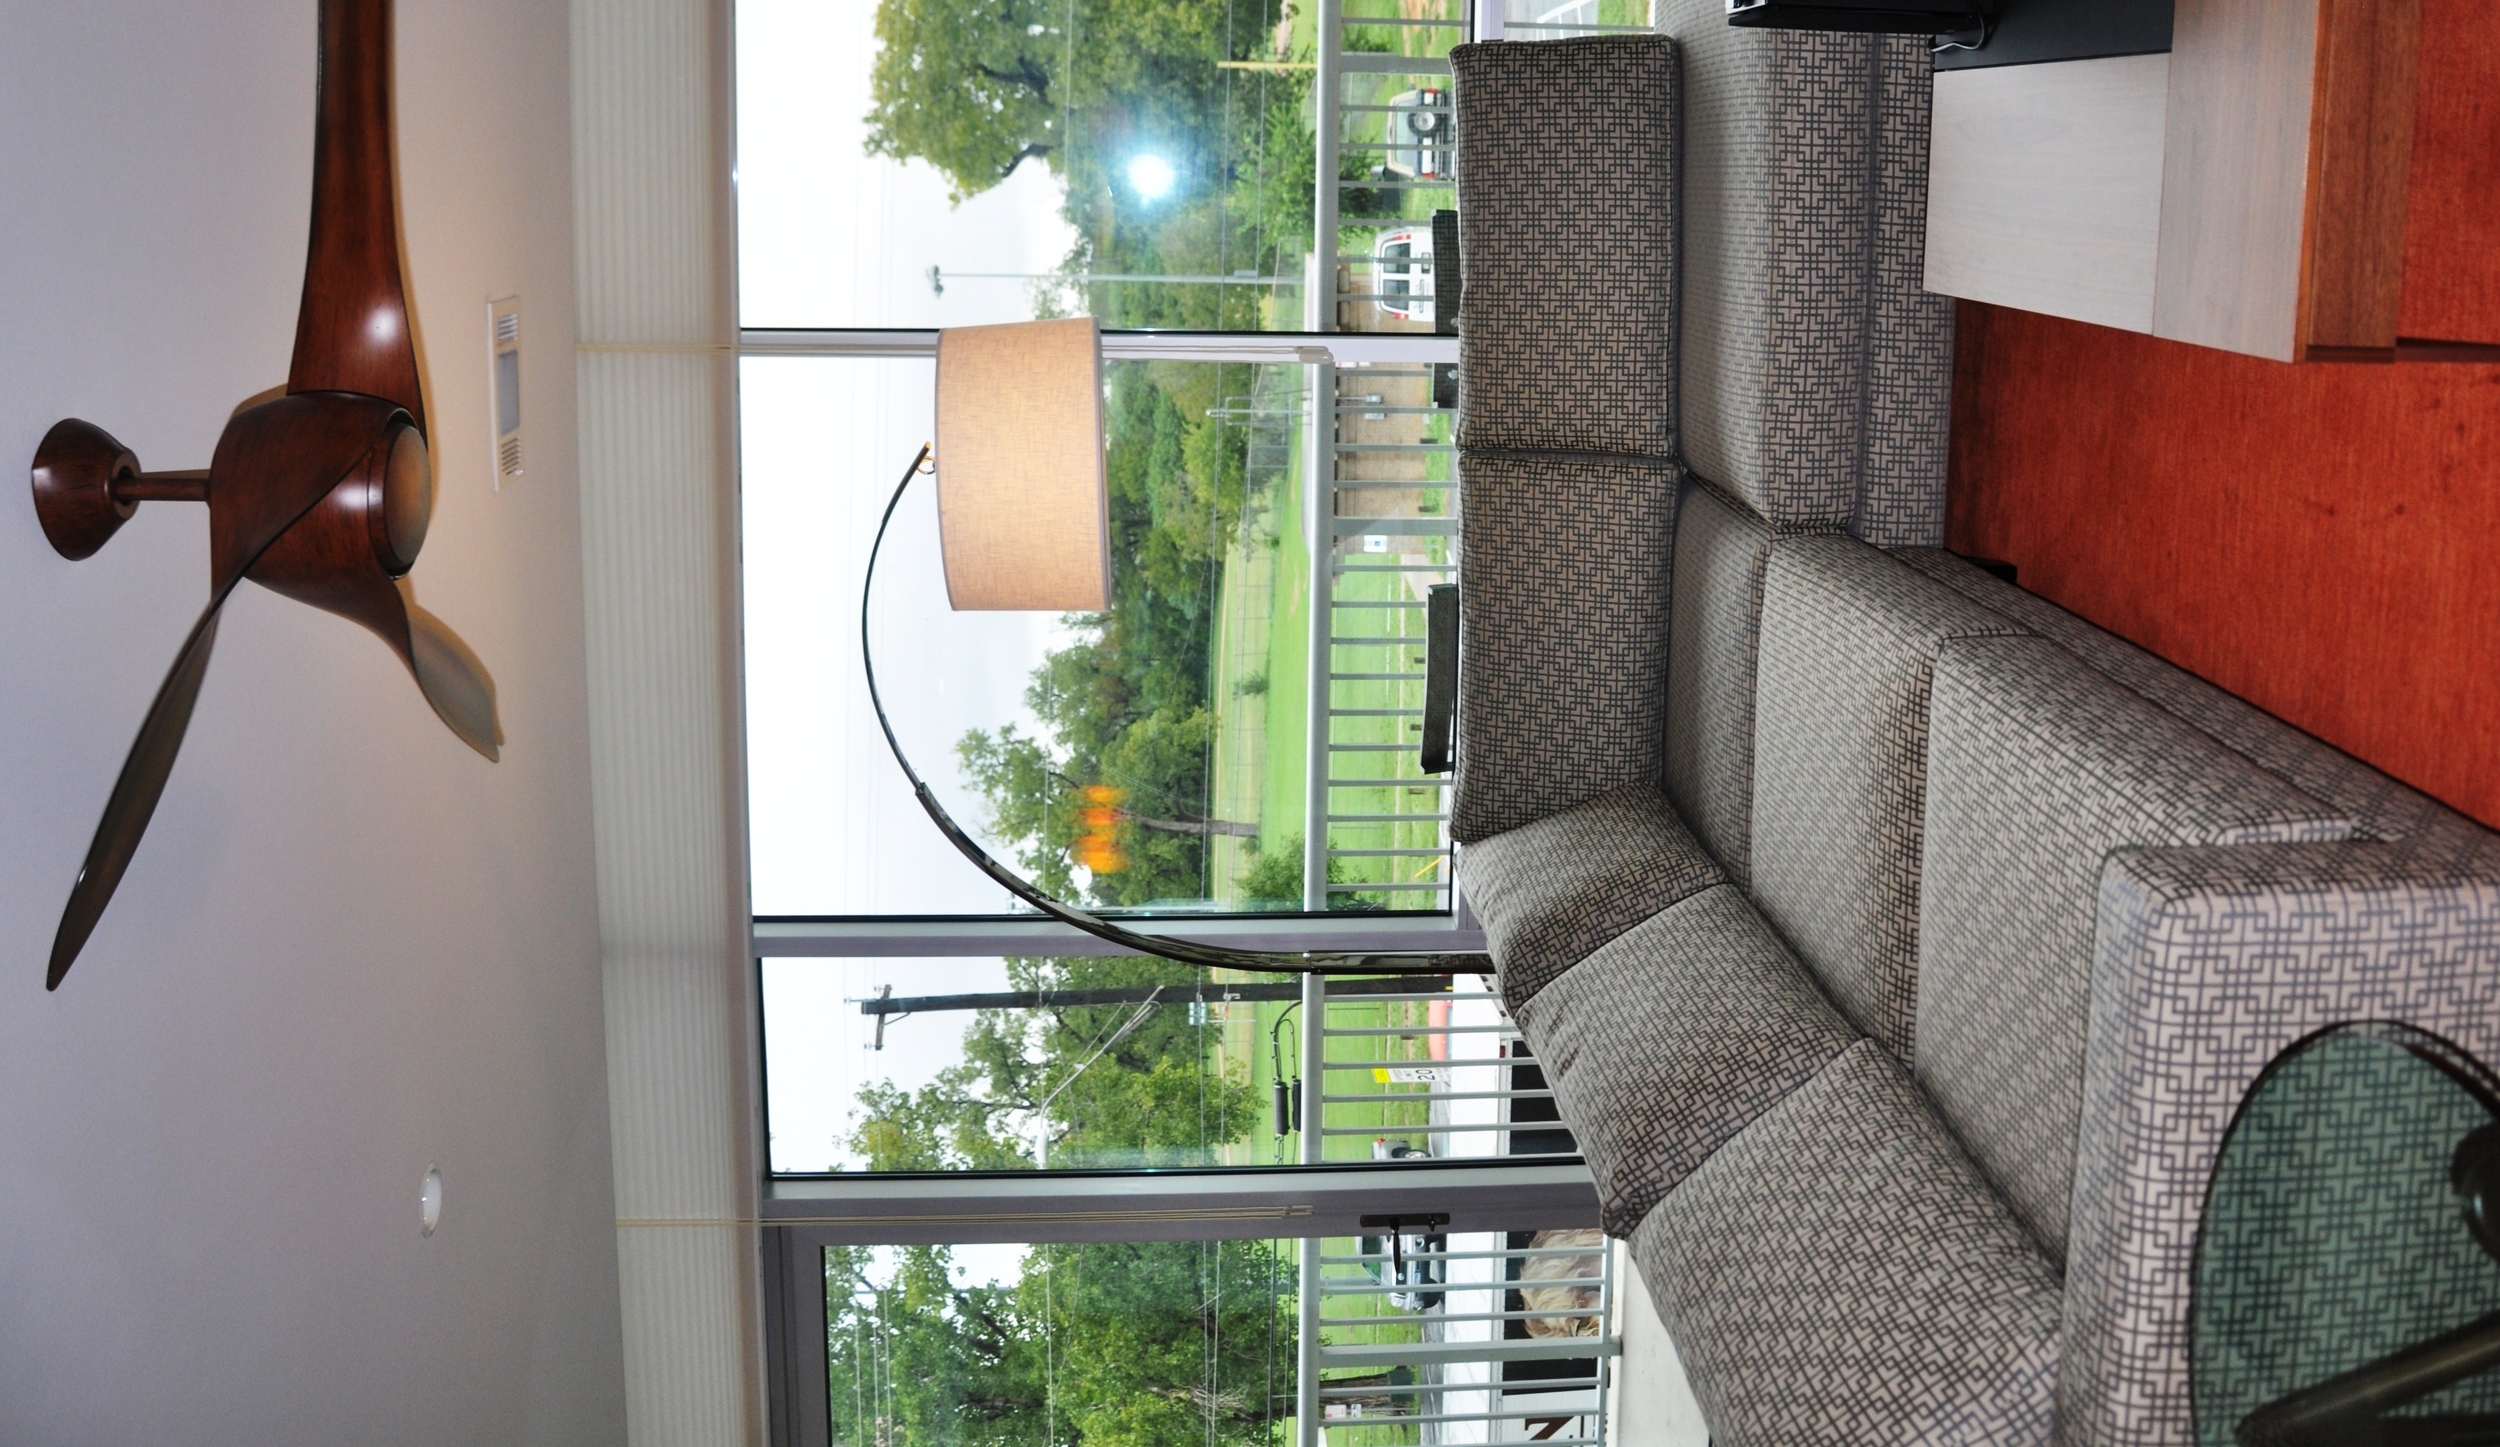
The typical rule of thumb is for the blades of your fan to be 8-9 feet above the floor. As you see in the photo below, we added a 12" down rod to our fan to accommodate the 10' ceiling--placing the fan at the perfect height for this bedroom.

Tureen- Farleigh's fan

3. Type of Installation 

Another critical factor to take into account when shopping for a new fan is: sloped or flat ceiling?

Some fans include adapters for sloped ceilings, but not all have this capability. Some adapters can be purchased separately, but can have restrictions on the angle it will accommodate; so it is important to know these details if you have a vaulted or sloped ceiling.

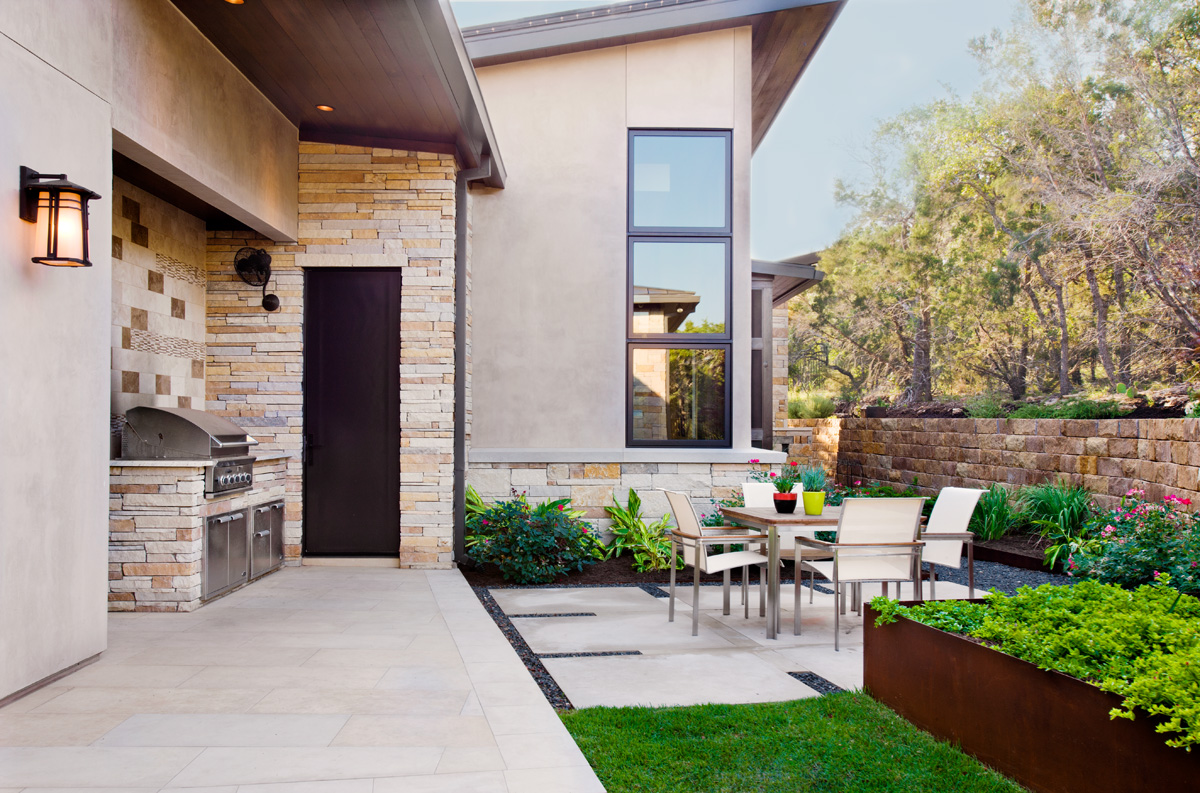
Sometimes the best solution isn't a ceiling fan at all. In the image below, we used a wall-mounted, oscillating fan to blow the smoke away from the bar-b-que area.

*Make sure to look for a damp or wet rated fan if installing outdoors*

Bellows-Hock's

 4. Lighting

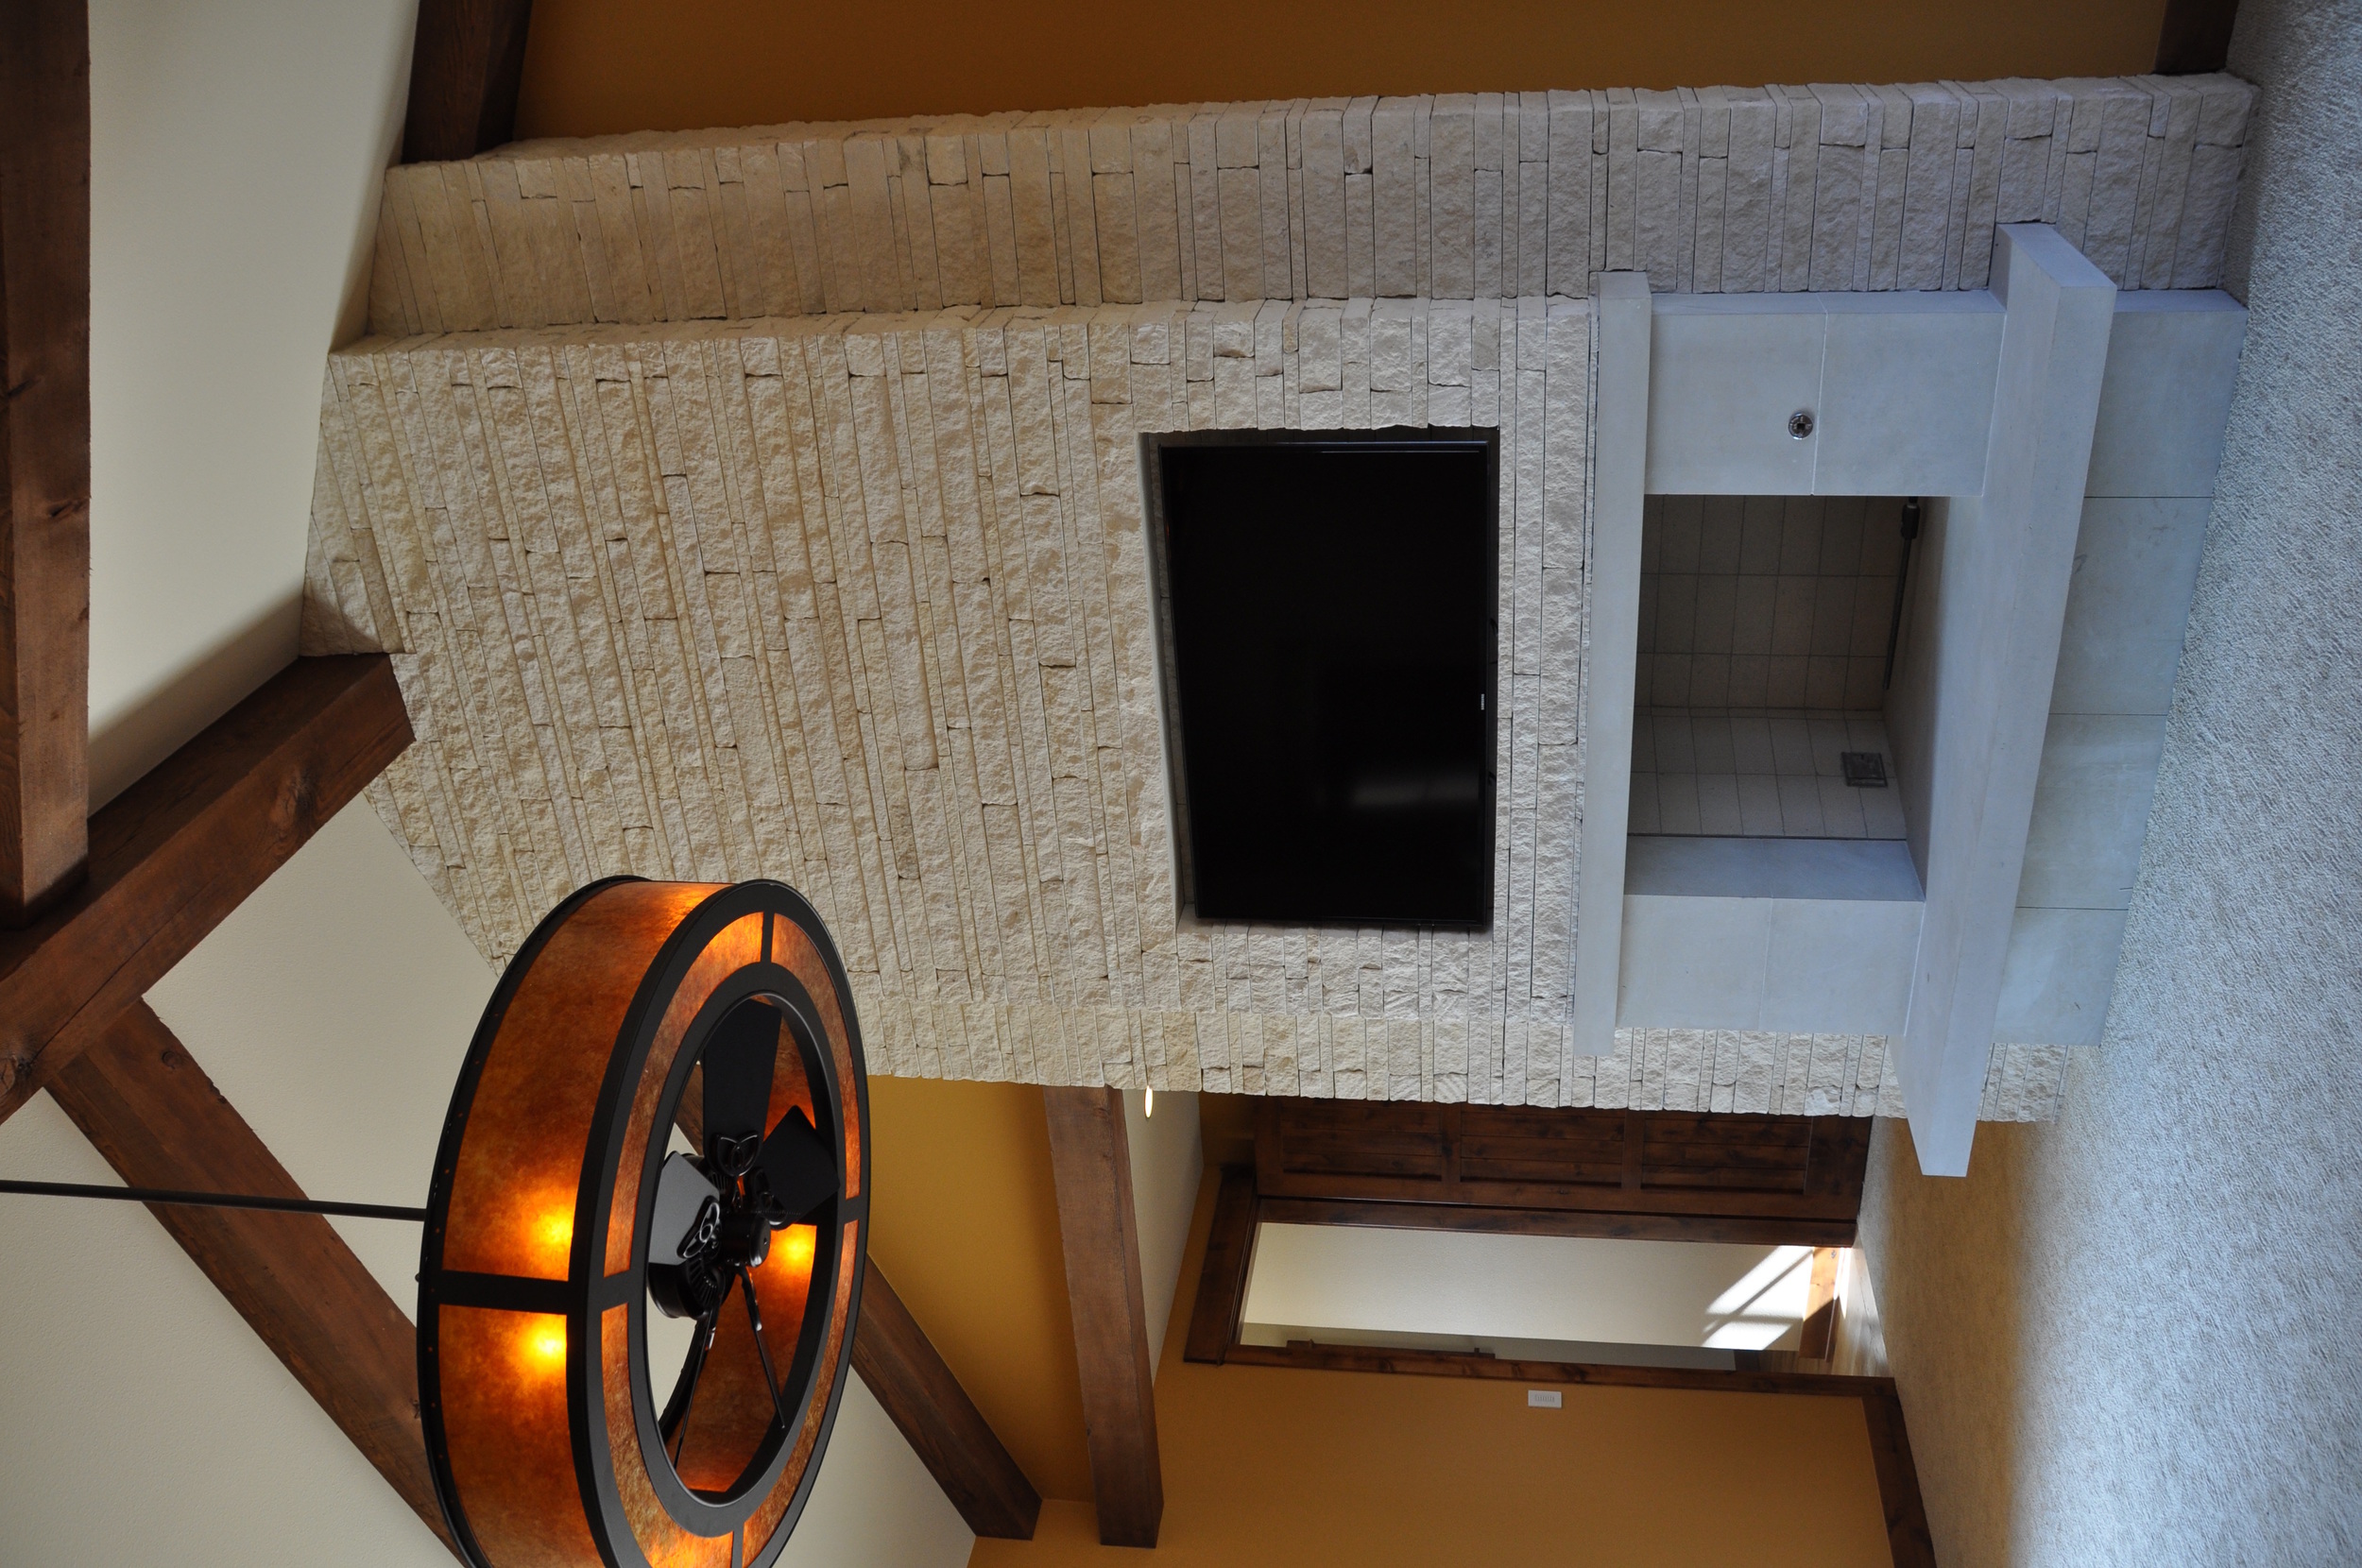
Light kits have gotten a bad wrap over the years and for the most part we agree.  Lights on fans are usually unattractive.  This being said, the fan companies have heard our plea.  Many have begun integrating lights into the fan itself making for a more complete and attractive look.

Which look do you like the best?  If you know you want a light, certain fans have customized options for you to pick the shape and globe style you want. Also, some fans that do come with a light, come with a cap in case you decide you do not want to use the light kit.

In the living room pictured below we capped the light because we loved the fan design, but the recessed cans in the room provided plenty of general lighting.

Artemis- Alex Smith's Condo

5. Style

Just like light fixtures, there are a wide variety of ceiling fan styles. To start with, there are contemporary and traditional fans. There are fans that have multiple blade material options--from clear acrylic, all the way to woven rattan.

Many times fans blend in to the ceiling because they are thought of as utilitarian, but there are plenty of styles that can take your fan from Blah to Tah-DAH.

Below is a unique example of a ceiling fan we used in a bedroom that is just as much art as function.

Meyda- Coe's fan

What ceiling fan is right for you?  What will fit best in your space?

Do you want to go from Blah to Tah-DAH with your lighting in a new or existing space?  We are here to help with great ideas and friendly purchasing advice.  Give us a shout to help transform your space.


Click here to see more blog posts by Paula Ables Interiors.

Haute Hacienda Decor by Paula

Here in Texas we are excited to be celebrating Cinco de Mayo next week! With Mexico right next door, we honor this holiday and our shops fill up with Mexican art, food, decorations, etc.

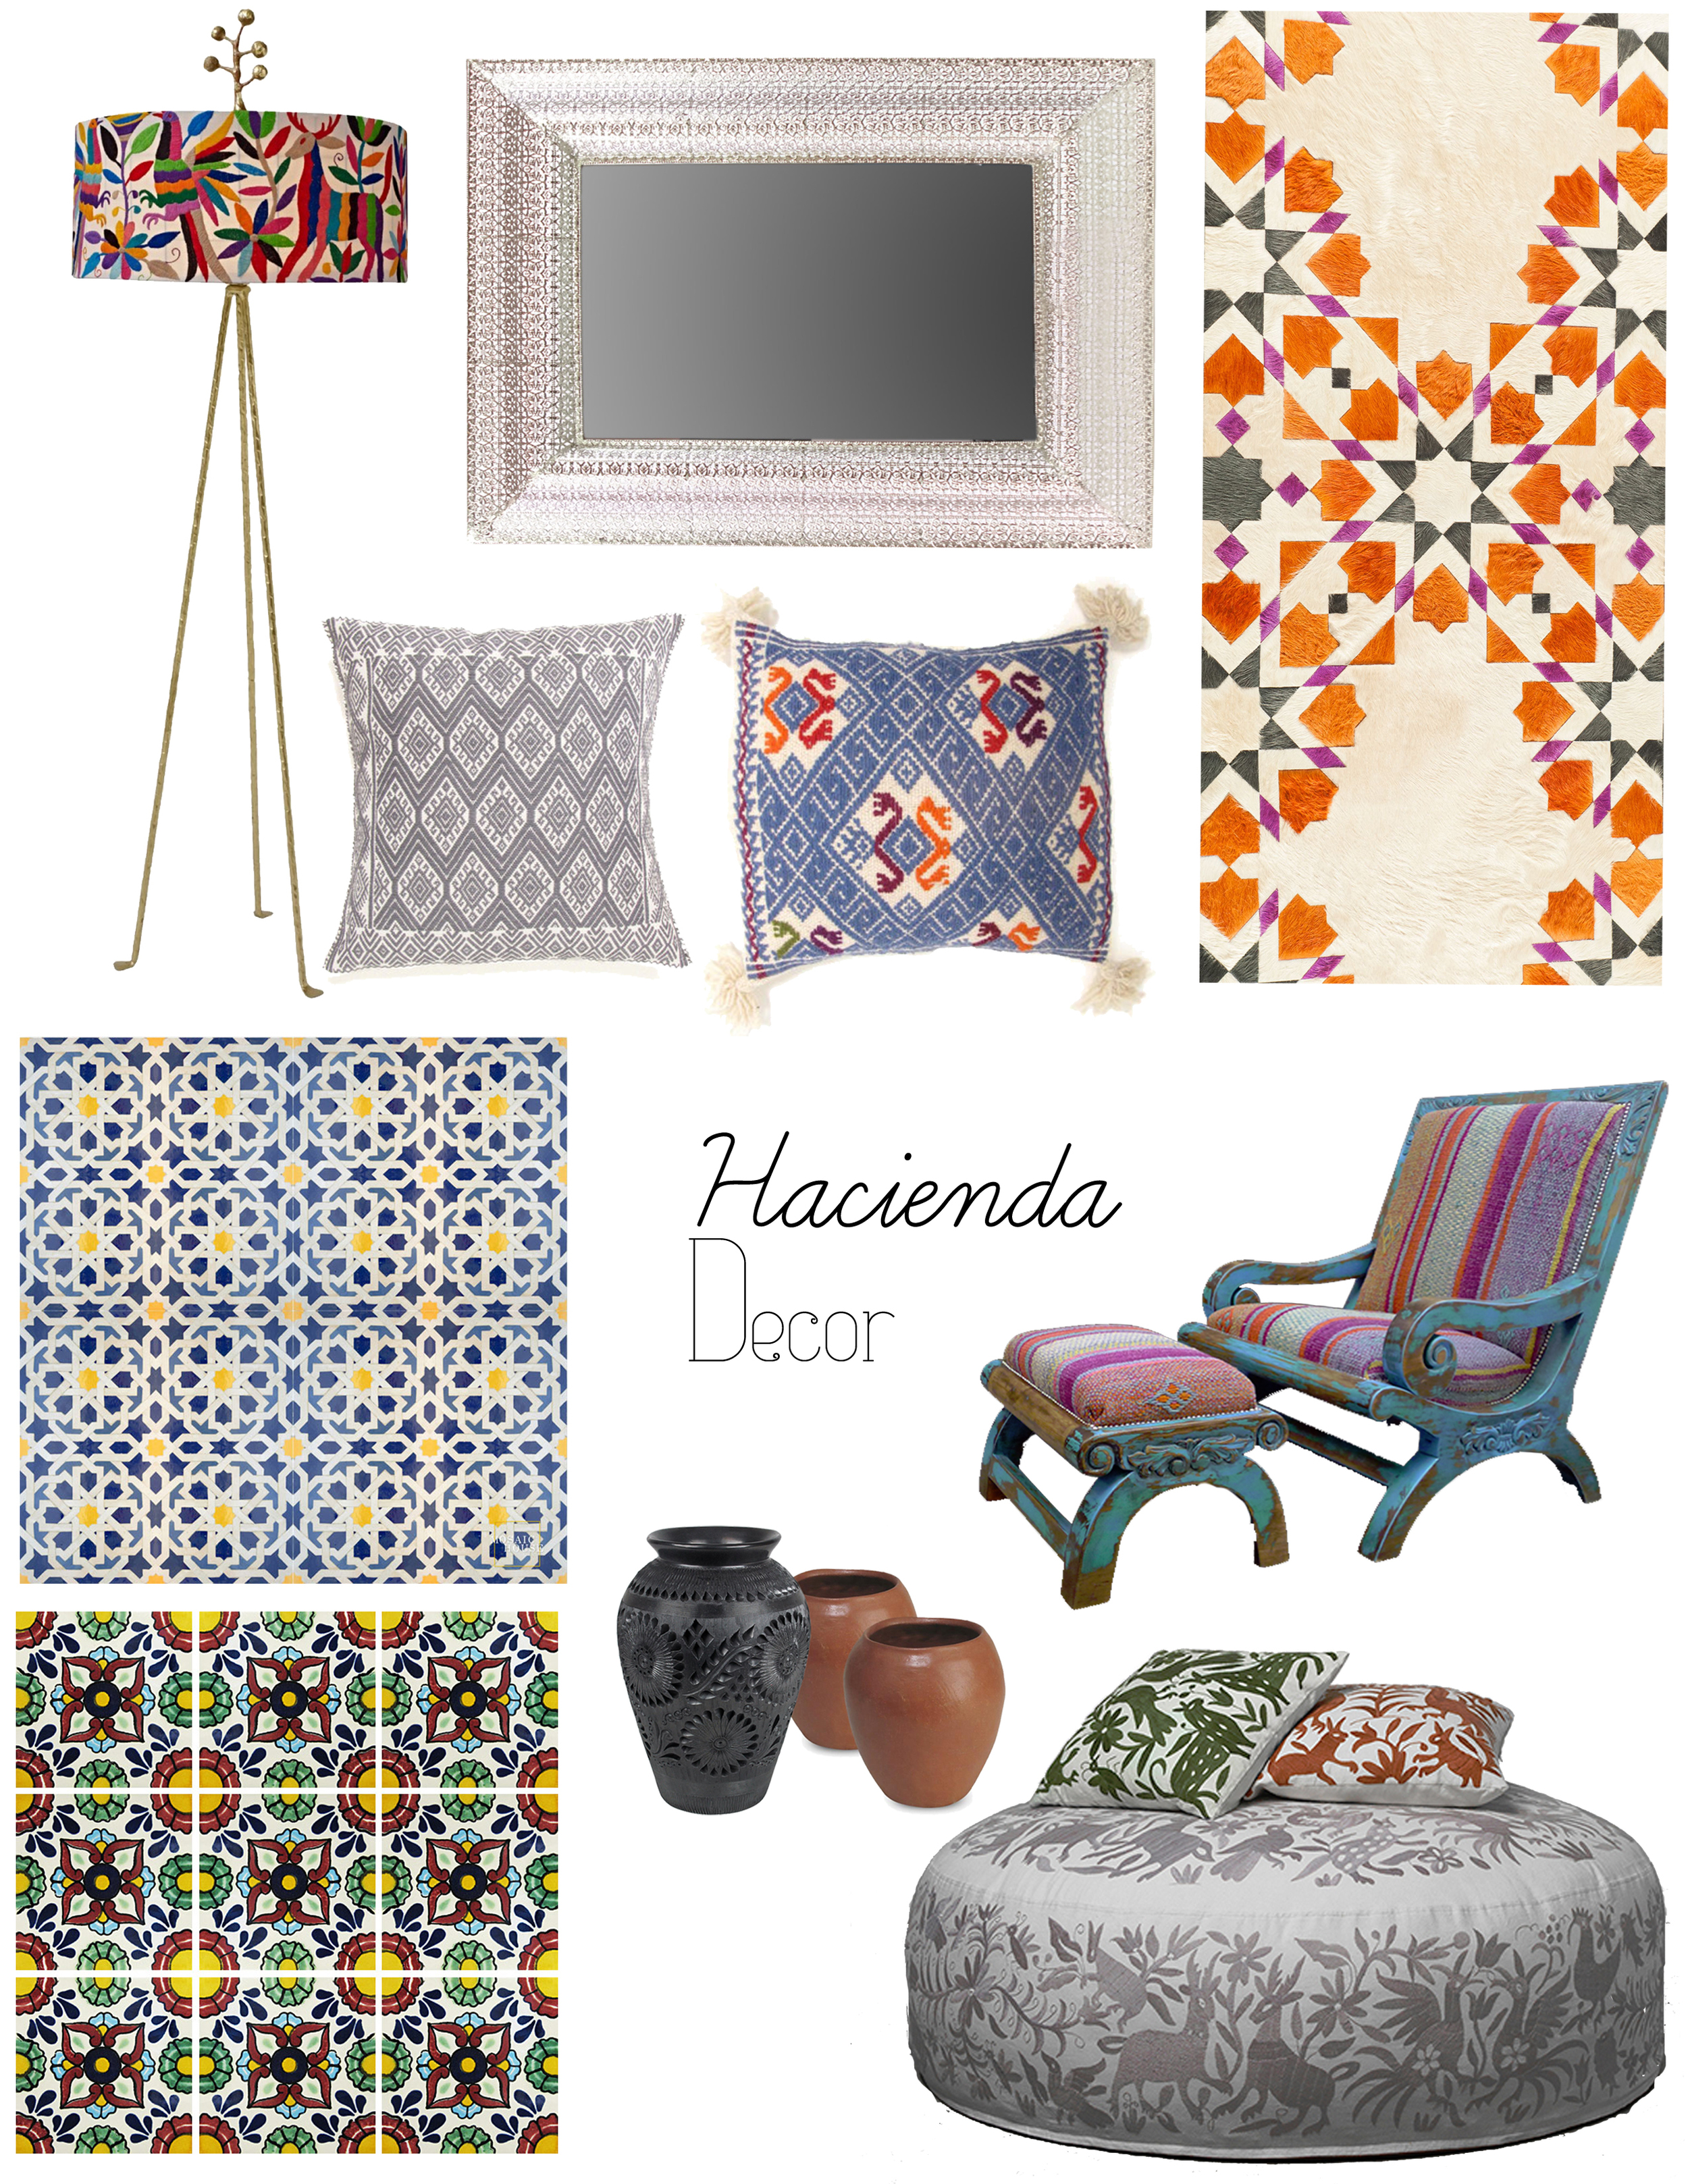
To get in the spirit, today we are featuring some of our favorite interior design items with Spanish and Mexican influence.

In Texas, Hacienda is more than just a style, it is a lifestyle as well. For interior design, we are seeing the Spanish influence become popular beyond our Texas borders! And we can't say we hate it...

[more after the image]

Cinco de Mayo-Hacienda


Haute Hacienda Product Details:

1. Otomi Floor Lamp - Stray Dog Designs // 2. Metal Wall Mirror - All Modern // 3. Orange Kasbah Cowhide Rug - Kyle Bunting // 4. Embroidered Pillows - Chiapas Bazaar // 5. Blue Mosaic Tile - Mosaic House // 6. Talavera Tile - La Fuente Imports // 7. Mexican Pottery - Direct from Mexico // 8. Striped Chair + Ottoman - Jorge Kurczyn // 9. Gray Otomi Lounger - Olli

Interested in taking your house in a new style direction?

Do you love the hacienda style, but you aren't quite sure where to start?

Give us a shout!  We would love to talk with you about all of the style possibilities and how they might fit your needs.


Click here to see more blog posts by Paula Ables Interiors

HGTV Professionals by Paula

PAULA ABLES INTERIORS of AUSTIN, TX is now featured as one of the HGTV Professionals

HGTV has added a new feature to their website-- Professionals Page!

HGTV Pro2-professionals

The resident pros at HGTV spent over a year searching for the top Interior Designers /Architects /Builders /Landscapers from major cities nationwide to feature on their site, and we were chosen as one of them!

We are so excited and honored to be promoted as a top designer by HGTV. Their new site is a wonderful resource for home improvement inquiries. Go check it out and give us a visit!  We would love to hear your thoughts.

All Things Green by Paula

In honor of St. Patrick's Day we wanted to post about one of our favorite colors...Green! Green is the color of balance, growth and harmony.  Whether turning a room green or only putting in a small accent, green has earned its way into the "neutrals" area of the color palette.

One of our design goals with every home is to tie the interior of the home to the exterior in some way.  We call it "bringing the outside in."  Where an architect strives to seamlessly blend the home to the natural site, we take it one step further by pulling colors from the lands, lakes and vegetation and make them part of the home.

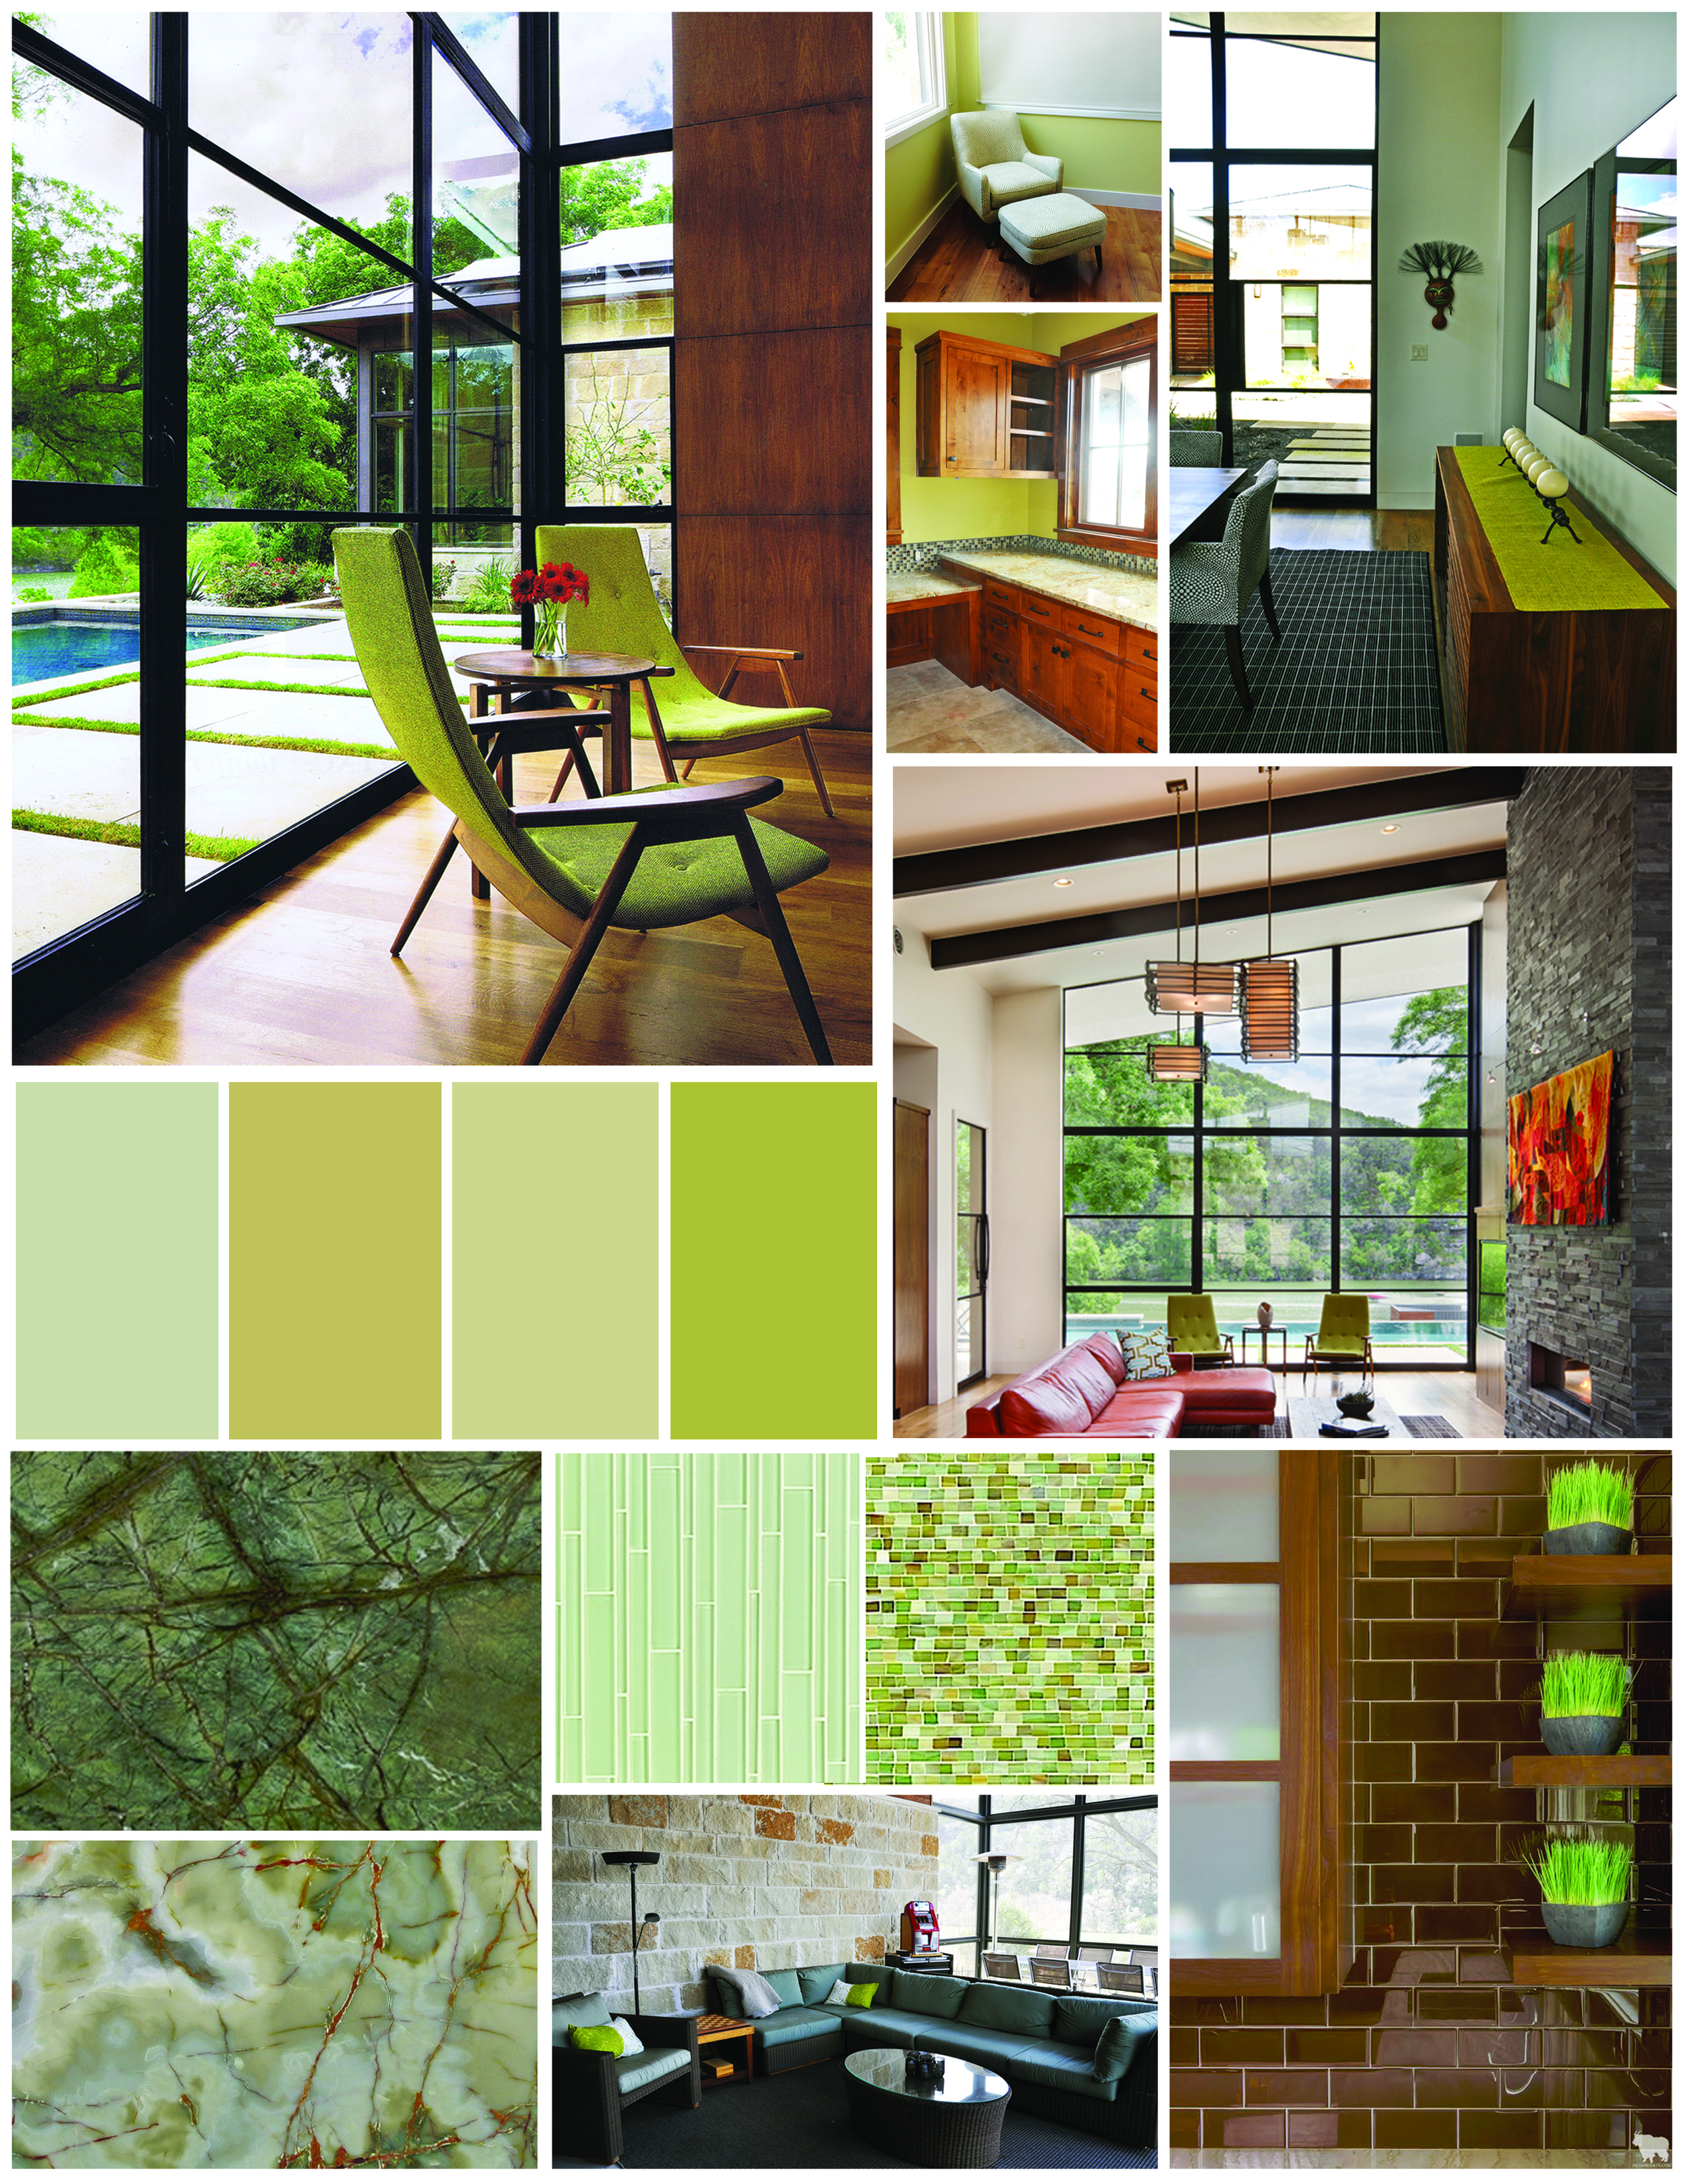
Below are images from various home interiors that we designed with green in mind.

Green

As seen in the photos above, green can be used as a paint color for an entire room all the way down to onion grass accents on a kitchen shelf.

Green makes you feel relaxed, restored and happy. Some even believe that green is a sign of new beginnings.  The shedding of the old and introduction of the new.

If you are interested in updating a room or two, or even your whole home, but are not sure where to begin, give us a call.  We will help you find YOUR new beginning.


Green Product listing:

 Color Swatches are all Benjamin Moore Paint Colors - from left to right - Guilford Green, Meadow View, Castleton Mist, & Split Pea

Stone Swatches are all from Pacific Shore Stones (in the left corner) - from top to bottom - Rainforest Green Granite, Green Onyx 

Tiles are all from Walker Zanger (in the bottom center) - from left to right - Skyline Tile, Chelsea Art Glass in Spring

Click here to see other blog posts by Paula Ables Interiors

Pastel Picks for your home by Paula

Easter is just around the corner and it has us in the mood for Pastels! We love how Pastels can soften a room & create a more calm & relaxing environment.

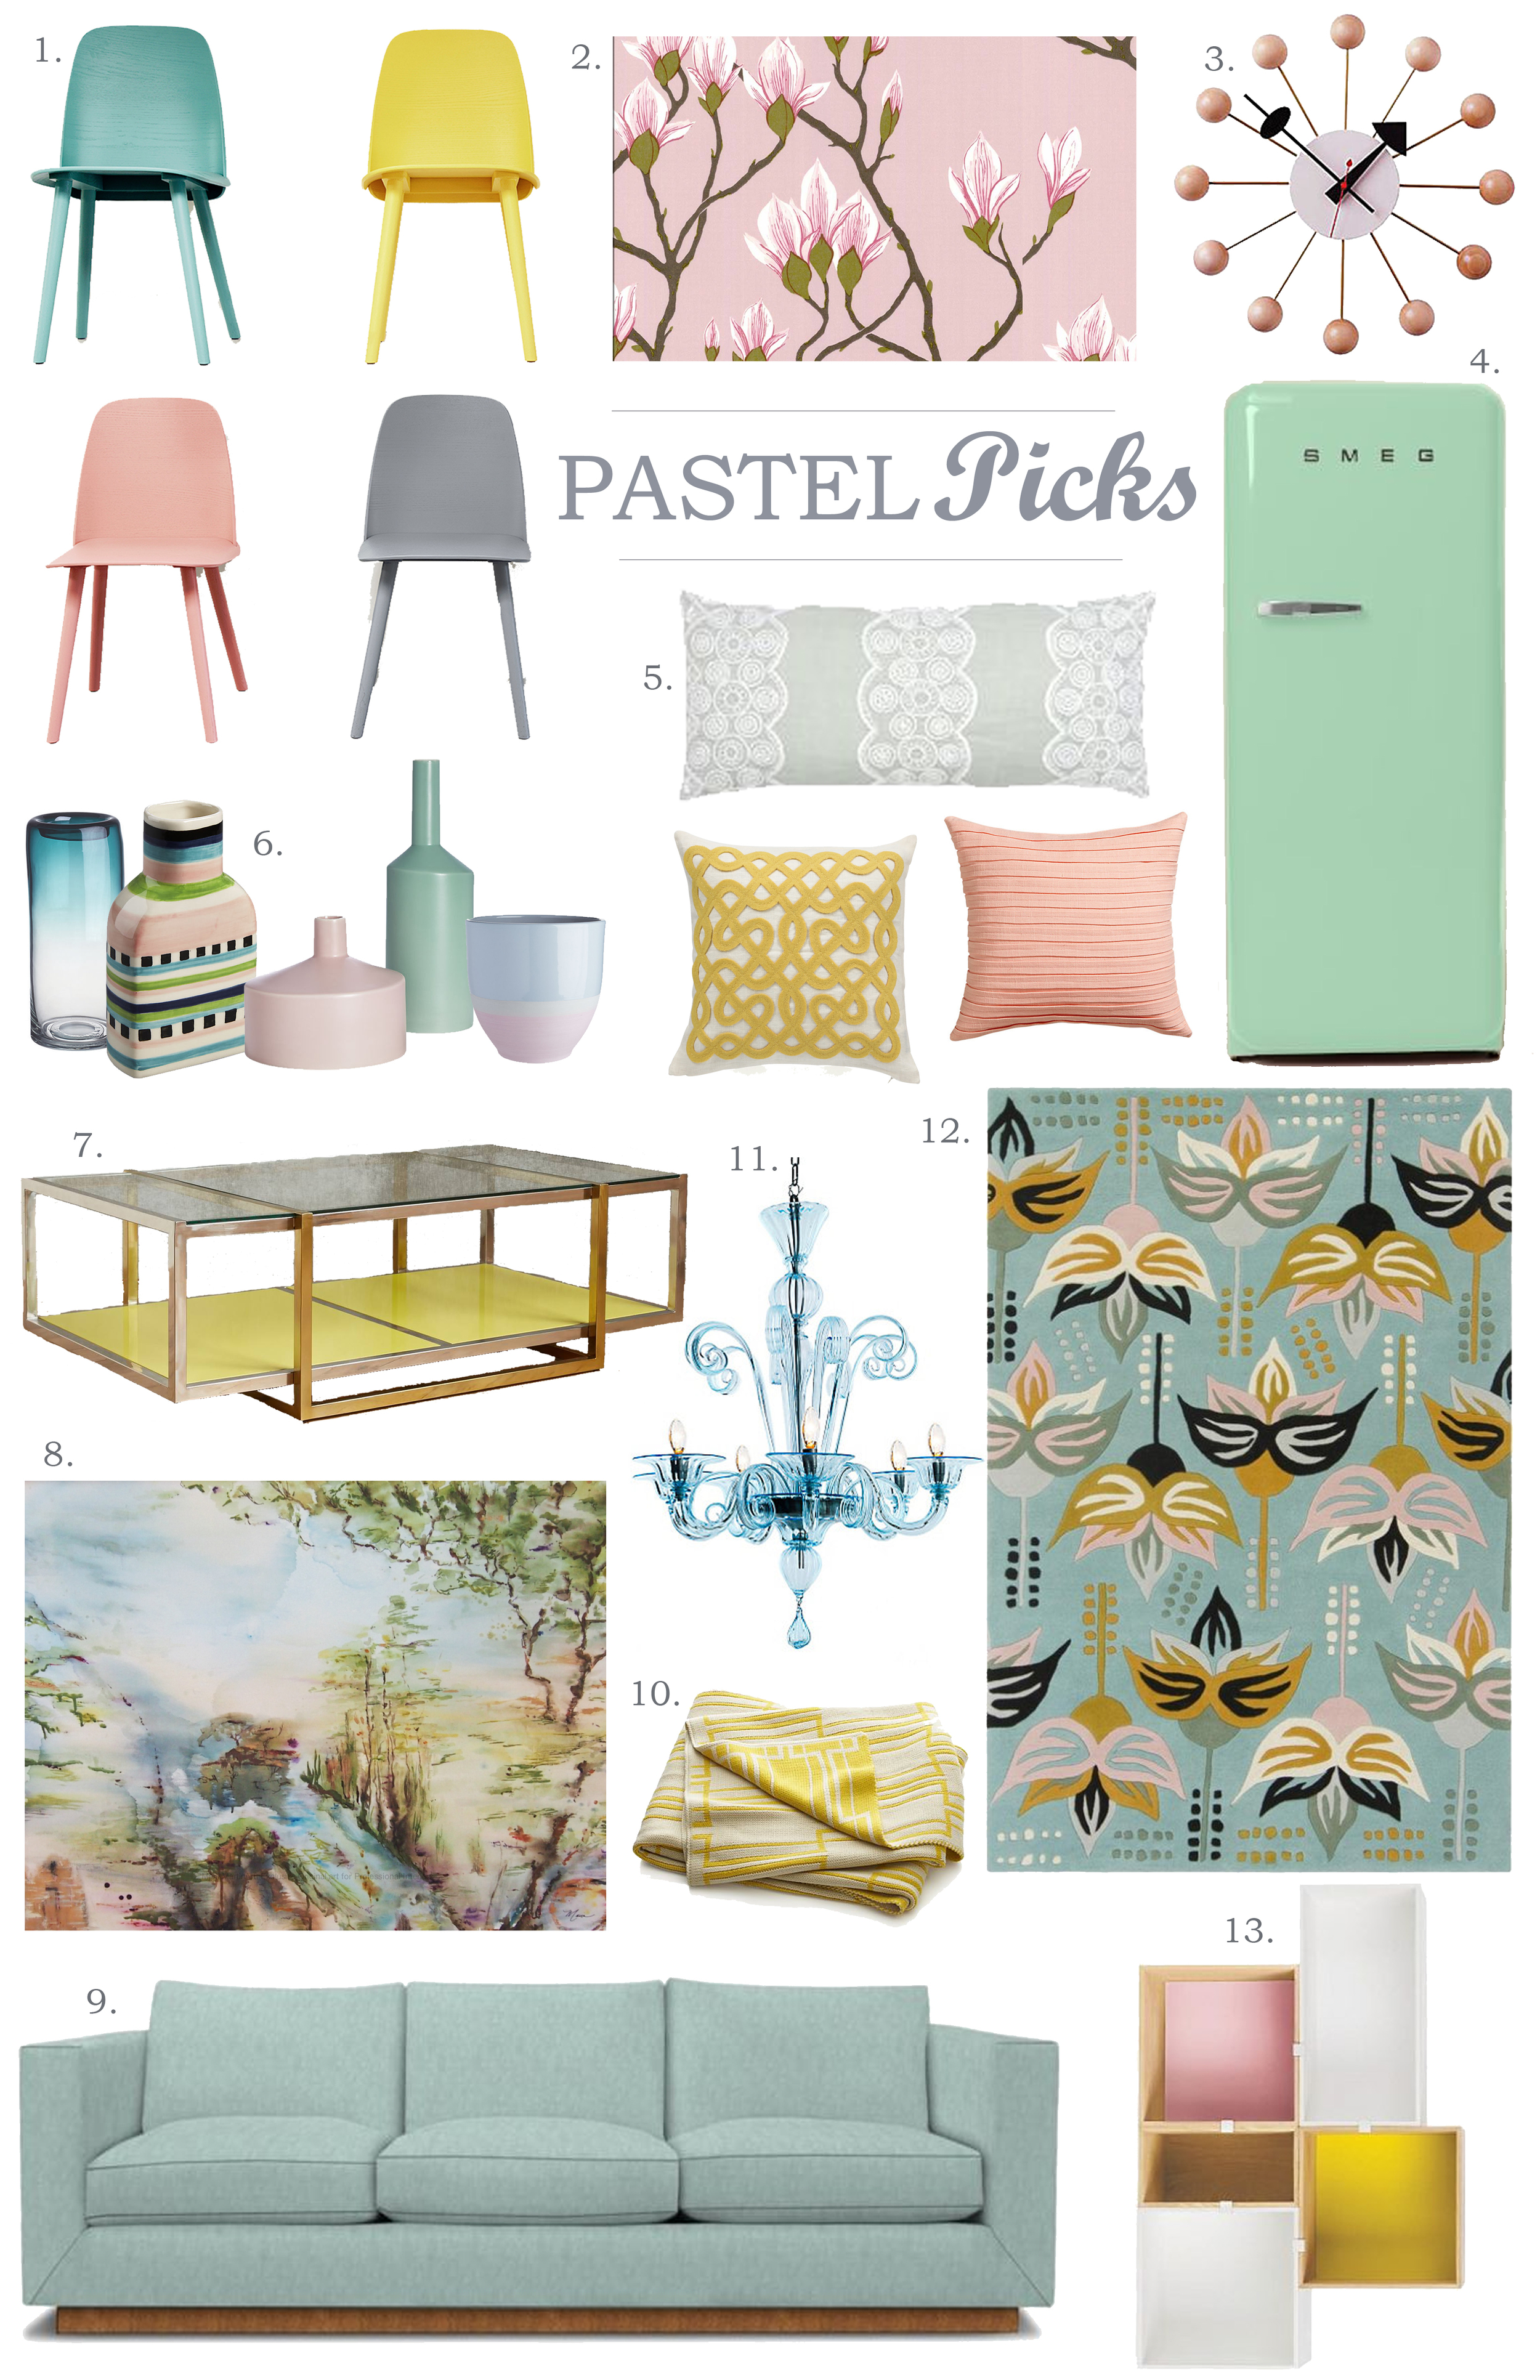
Below are our favorite Pastel Picks from some of our most loved shops this year.

[more details after the image]

Pastels3


Pastel Product Information:

1. Chairs - David Geckeler.    2. Magnolia Wallpaper - Cole & Sons.   3. Clock - Design Within Reach.   4. Refrigerator - Smeg.    5. Pillows. Mint Pillow - Pine Cone Hill. Pink Pillow - CB2. Yellow Pillow - Dwell Studio.    6. Vases - CB2.   7. Coffee Table - Anthropologie.   8. Pastel Painting - Maria Martin Art.   9. Sofa - Jonathan Adler.   10. Yellow Throw - Crate & Barrel.   11. Chandelier - Design Within Reach.   12. Floral Rug - Jessica Swift.   13. Colored ShelvesDesign Within Reach.


People often associate Pastels with Spring time, but they don't have to be seasonal!

For example, we love using pastel blue paint as a wall color, pastel yellow sheets for a soothing bedroom, or a pastel pink rug in a bathroom.

They can easily replace tans, grays, & whites and act as beautiful neutrals.


If you have an area of your house where you would like to use pastels, we would love to help!


Click here to see other Blog Posts by Paula Ables Interiors

5 Things to Expect after Hiring a Designer by Paula

Hiring A Designer Series - Part 3

Hiring is fun.  Let the process begin.  You have done the research, interviewed multiple designers, and hired someone! Now what??

NOW the fun part!  You get to start the creative, design process. And although the process is fun and exciting, with it comes a lot of things you may not expect!

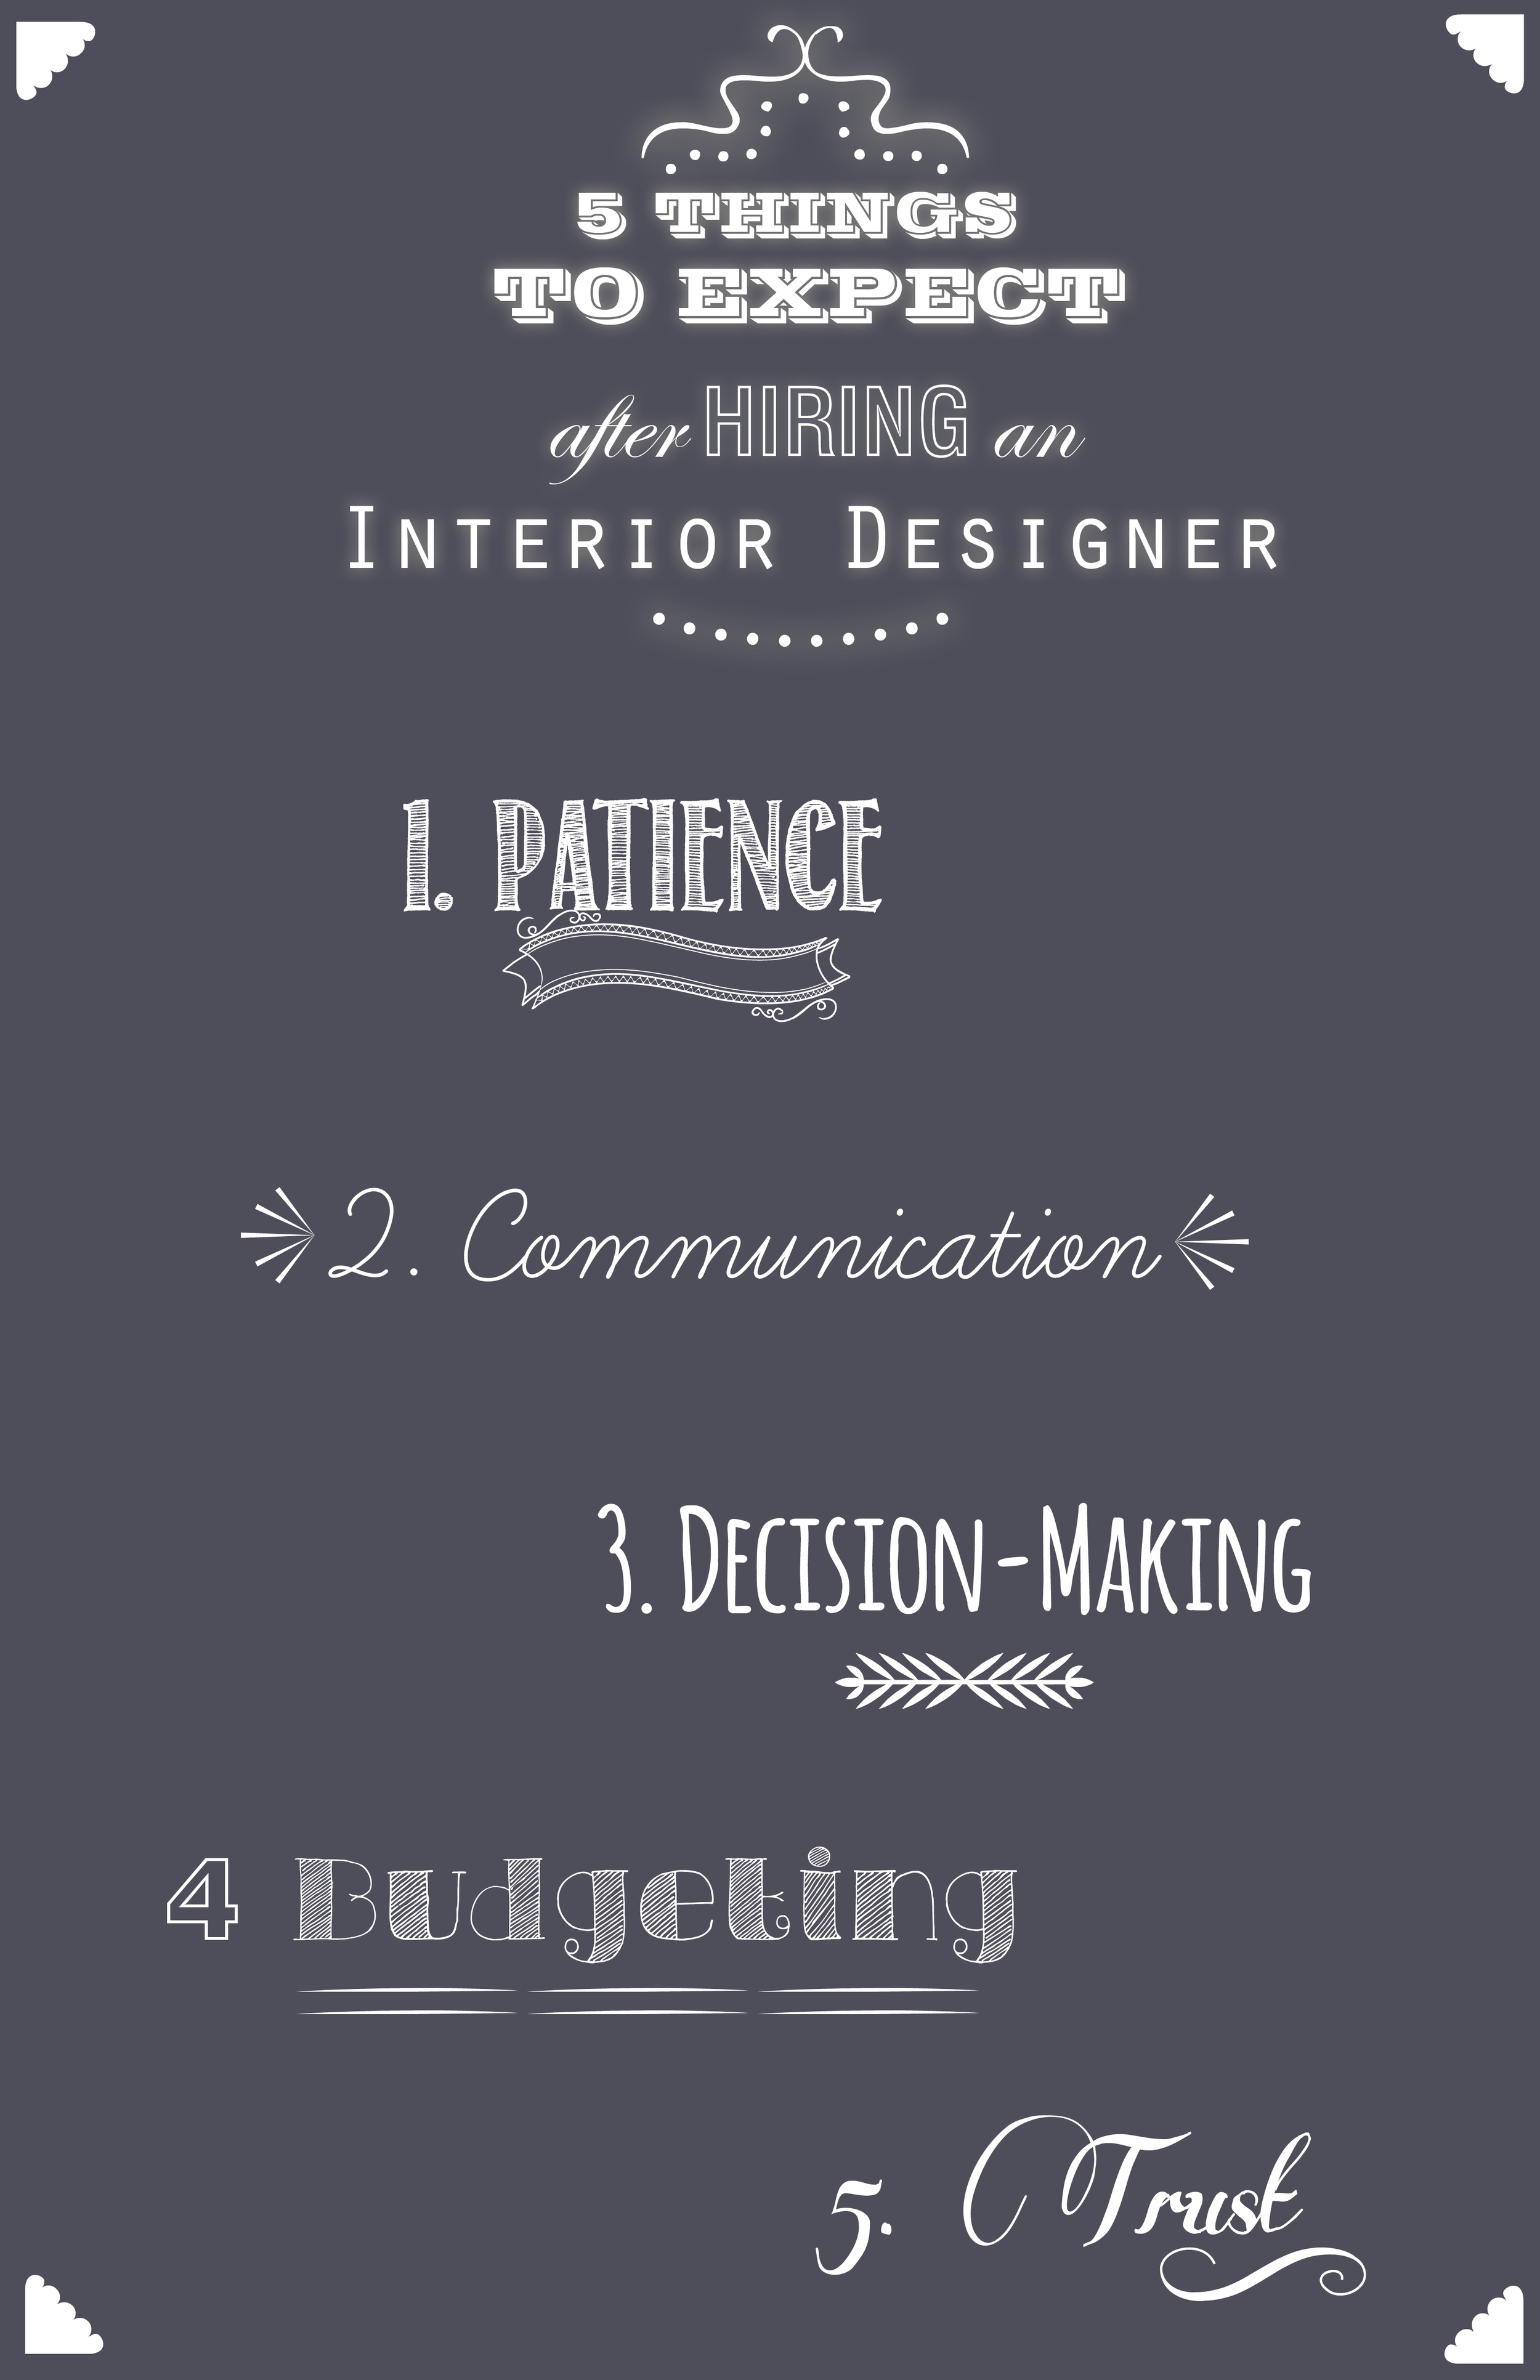
Below we have listed 5 expectations to have after you've hired an interior designer to help provide a better understanding of what the project will involve.

[more details to follow the image]

5 Expectations after Hiring-designer

1. Patience

As it's been said, patience is a virtue--especially when it comes to Interior Design Projects, or even general home projects.

The creative process takes time and shouldn't be rushed. And as it's also been said, results don't happen overnight--so if you don't expect them to, you will get the best results!

Recognize that there will be delays and that most items you want are not immediately available. Items usually have to be ordered and delays from manufacturers are a common occurrence. BUT it is worth the wait!

2. Communication

A man's favorite word...But seriously, the more you communicate with your designer and share your ideas, the happier you will be!

Be open to sharing your inspiration or thoughts. Then the designer can interpret them in his/her own way and get you what you want.

Also, if you don't like something don't be afraid to say so. And if you really like something then definitely say so, to help give clear direction.

3. Decision-Making

If you are great at making decisions the design process will probably go more quickly for you. Just be prepared to make a lot of decisions!

And if you are an indecisive person, don't worry! You have hired an interior designer to help guide you and make decisions for you! You just have to let go a little bit and trust them to work their magic.

4. Budgeting

As we discussed in Part 1 of this series, having a realistic budget for your project will make the process easier for all involved.

It will save the designer time when searching for products, and will save you stress about going over your limit.

Also, giving yourself a little "cushion" room for spending is extra important--there might be something you "can't live without" that's a little out of your price range; or, as mentioned, the process may take a bit longer than anticipated.

5. Trust

You did your research and found a designer you love, so trust them to lead the way.

You know you like their style and personality. You have given your list of wants and desires. So sit back and enjoy watching the process unfold!

The designer may show you things that are not on your list, and that make you think outside the box, but stay open. In the end, you will have a finished product that is all your own & totally you!

We hope our "Hiring a Designer" Series was enjoyable and insightful for you!

If you have any further questions about selecting and hiring a designer feel free to contact us here!

Part 1 - Are you Ready to Hire an Interior Designer?

Part 2 - 5 Tips for Hiring the Perfect Designer for YOU

Click here to see other Blog Posts by Paula Ables Interiors

5 Tips for Hiring the Perfect Designer for YOU by Paula

Hiring a Designer Series - Part 2

Once you have decided to seek professional help for your design project, the next step is finding the perfect person to do the job!

This step of deciding who to hire can be just as difficult, or more difficult, as the previous step of deciding to hire a professional. So, we have provided you with some tips that should help you find the perfect designer that is right for your project & your style!

[more details to follow the image]

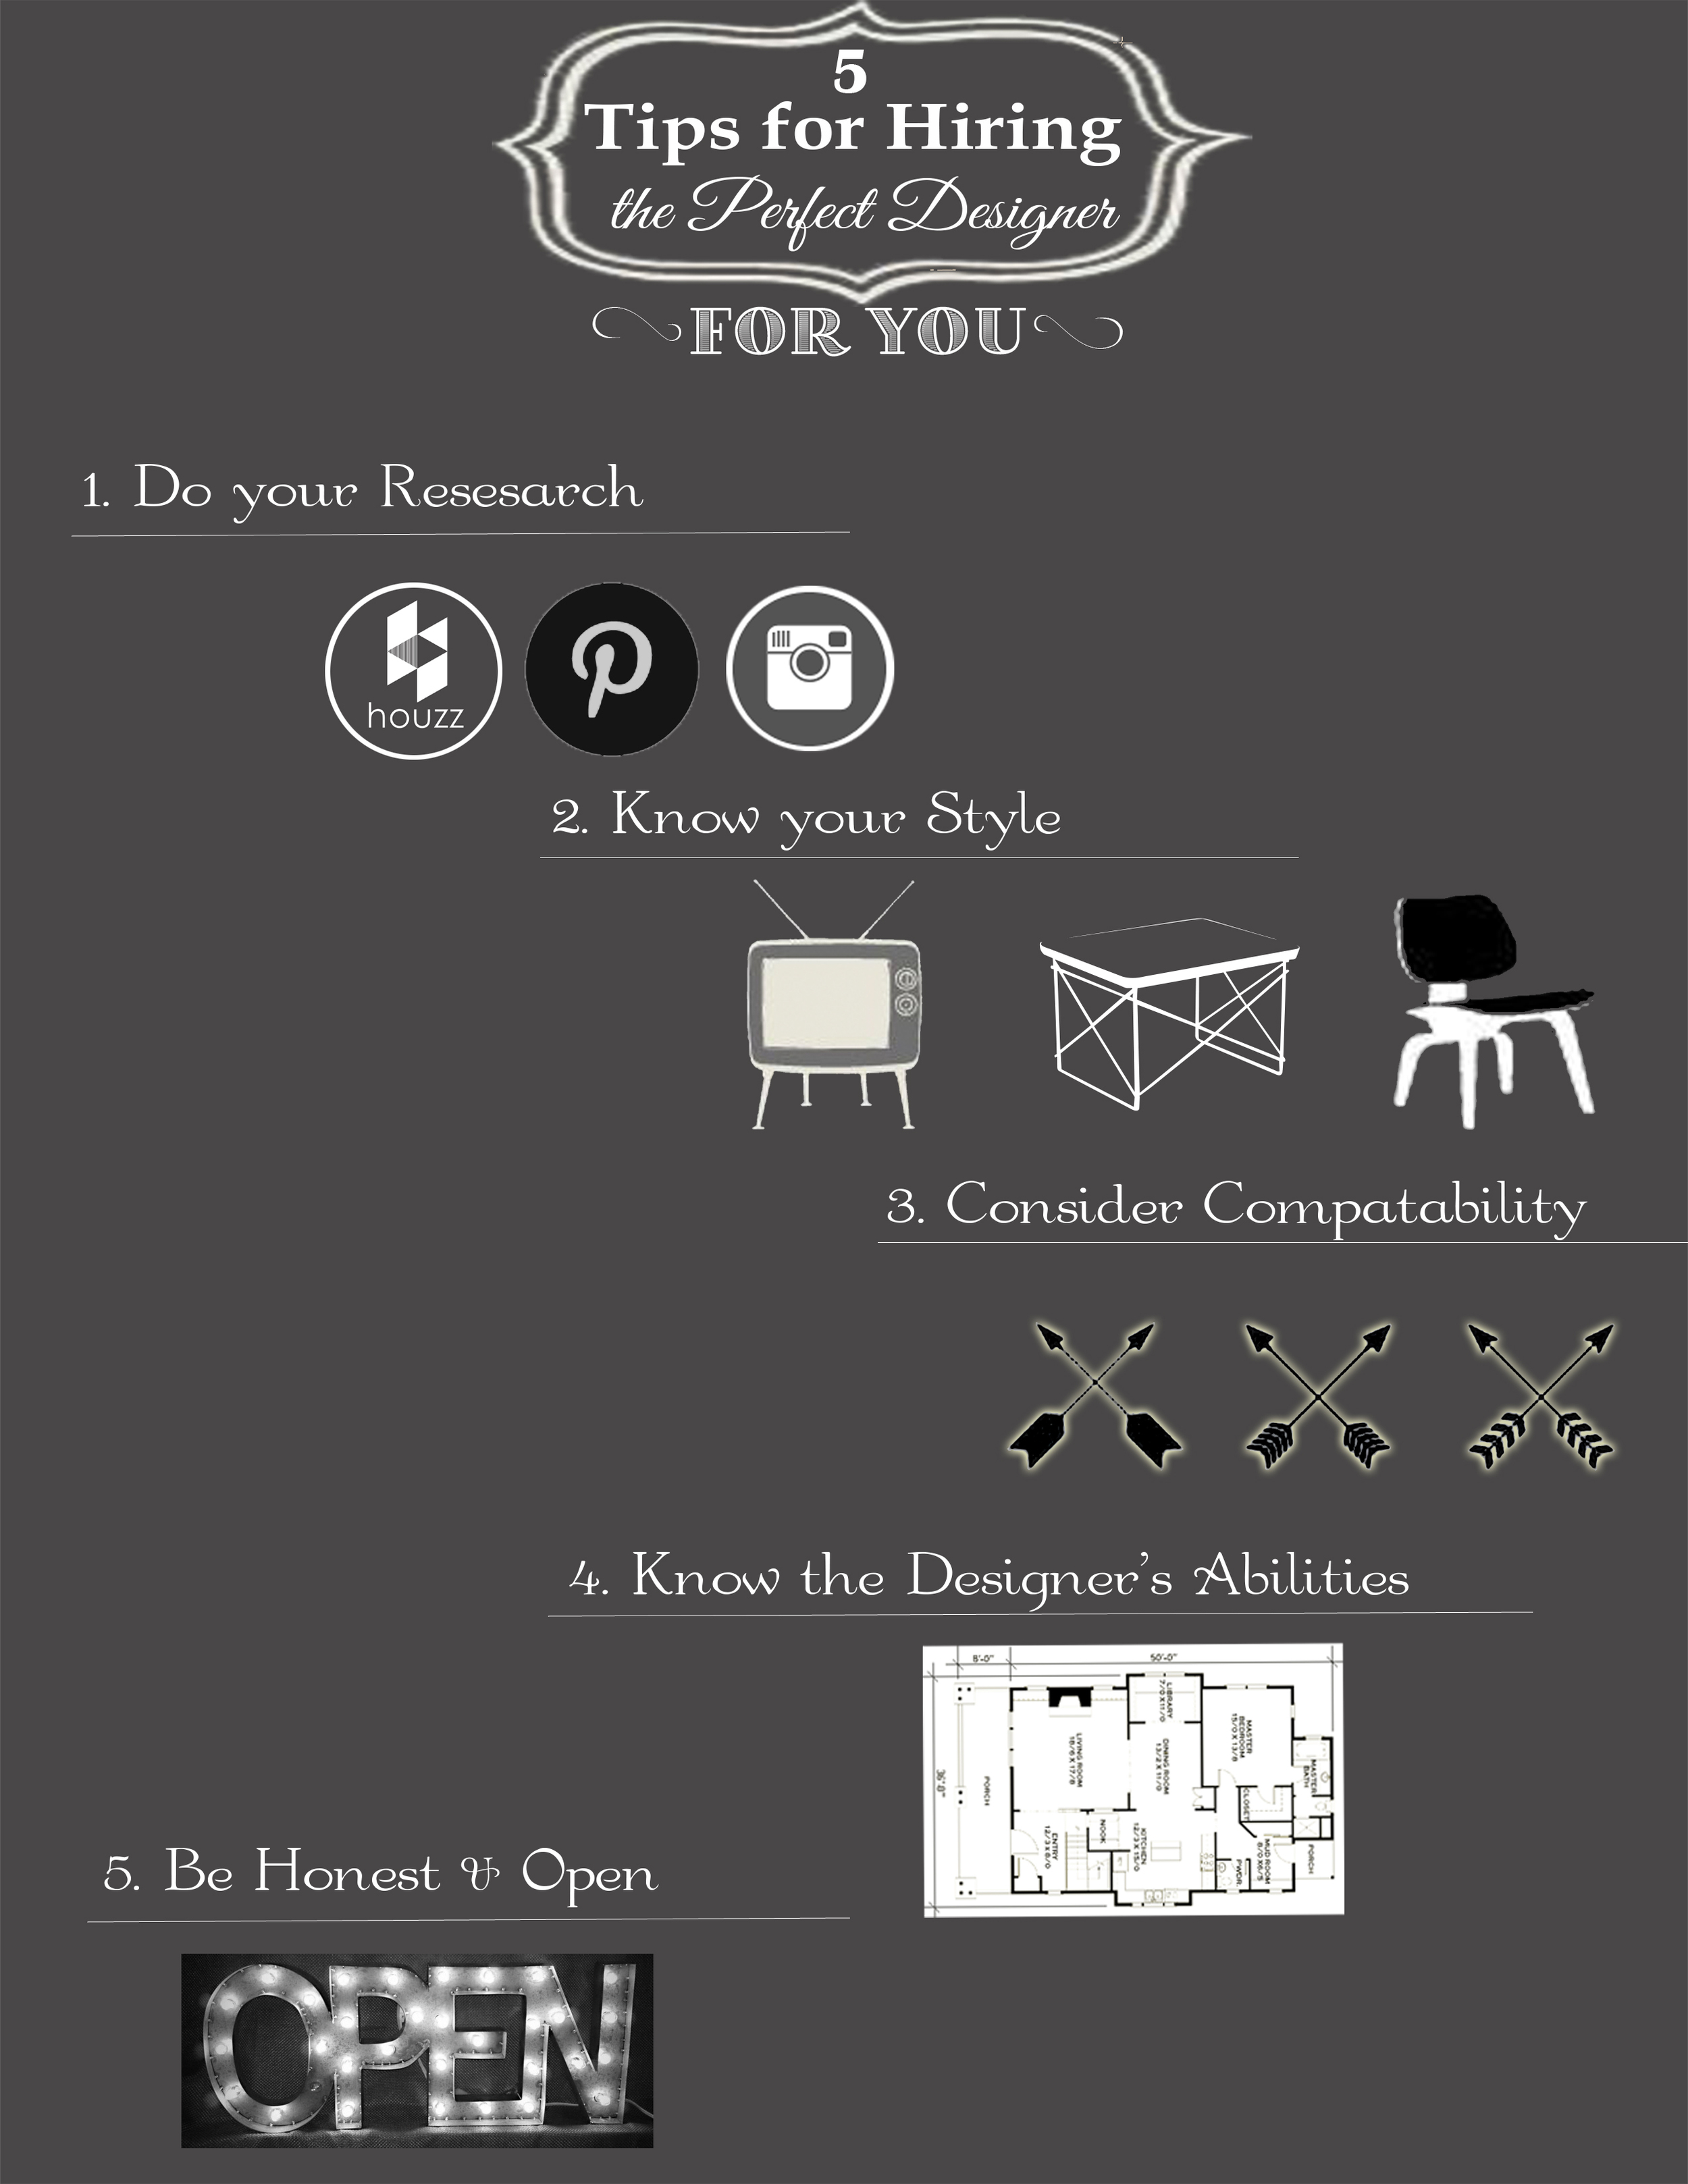
Tips for Hiring a Designer (1)-perfect

Details for hiring the Perfect Interior Designer:

1. Do Your Research 

It is important to research designers to see if they are licensed and how many years of experience they have. Registered Interior Designers have a very broad range of skill sets. Looking for designers that specialize in the type of project you want to do can help you narrow down quickly! Visiting their website and Houzz profile is also a good first step when researching.

2. Know Your Style

Once you know the design style you want to achieve—traditional, contemporary, eclectic, transitional, etc.—then you can explore the work of designers in your area & find the best fit for you! Also, if you do not find any local designers you are interested in, many people work with designers from other cities, states, and even countries.

3. Consider Compatibility

After you have chosen your top designers, the interview process begins! As you meet the different designers, note their personalities, hobbies, communication style, etc. If you “click” with the designer on multiple levels the whole process will be more fun! Projects typically go more smoothly when personalities match.

4. Know the Designer's Ability

If you are looking to hire someone for an extensive remodel project, be sure that the designer has experience in this. For instance, Paula is a Registered Interior Designer that worked at an architecture firm for 10 years, so she can easily draw new construction plans for a remodel or addition.

5. Be Honest & Open

When you are meeting potential designers it is better to talk about too much than not enough. The more you get to know them initially, the easier it will be to choose a designer. Also, make sure to discuss your budget and your time frame realistically. These are 2 huge factors the designer will need to know to keep you happy!

**In the next few weeks we will wrap up this “Hiring a Designer Series” and talk about what to do once you've hired that perfect designer!

If you have any further questions for us, we would be happy to help answer them! Contact us here.


Part 1 - Are you Ready to Hire an Interior Designer?

Part 3 - 5 Things to Expect after Hiring an Interior Designer

Click here to see other Blog Posts by Paula Ables Interiors