Whether you have lived in your home for 10 years or 10 weeks, everyone at some point wants to upgrade a part of their home. We are here to show you how to get from Drab to Fab in 6 easy steps!

1. Assess your needs:
What is it about your current kitchen that you do not like? Is it the color of the cabinets? Would you prefer to have an open bar for guest to sit and it is currently a wall? Would you like a larger kitchen? Is there a way to add an island without breaking the bank? These are just a few questions to get your juices flowing.
 |
 |
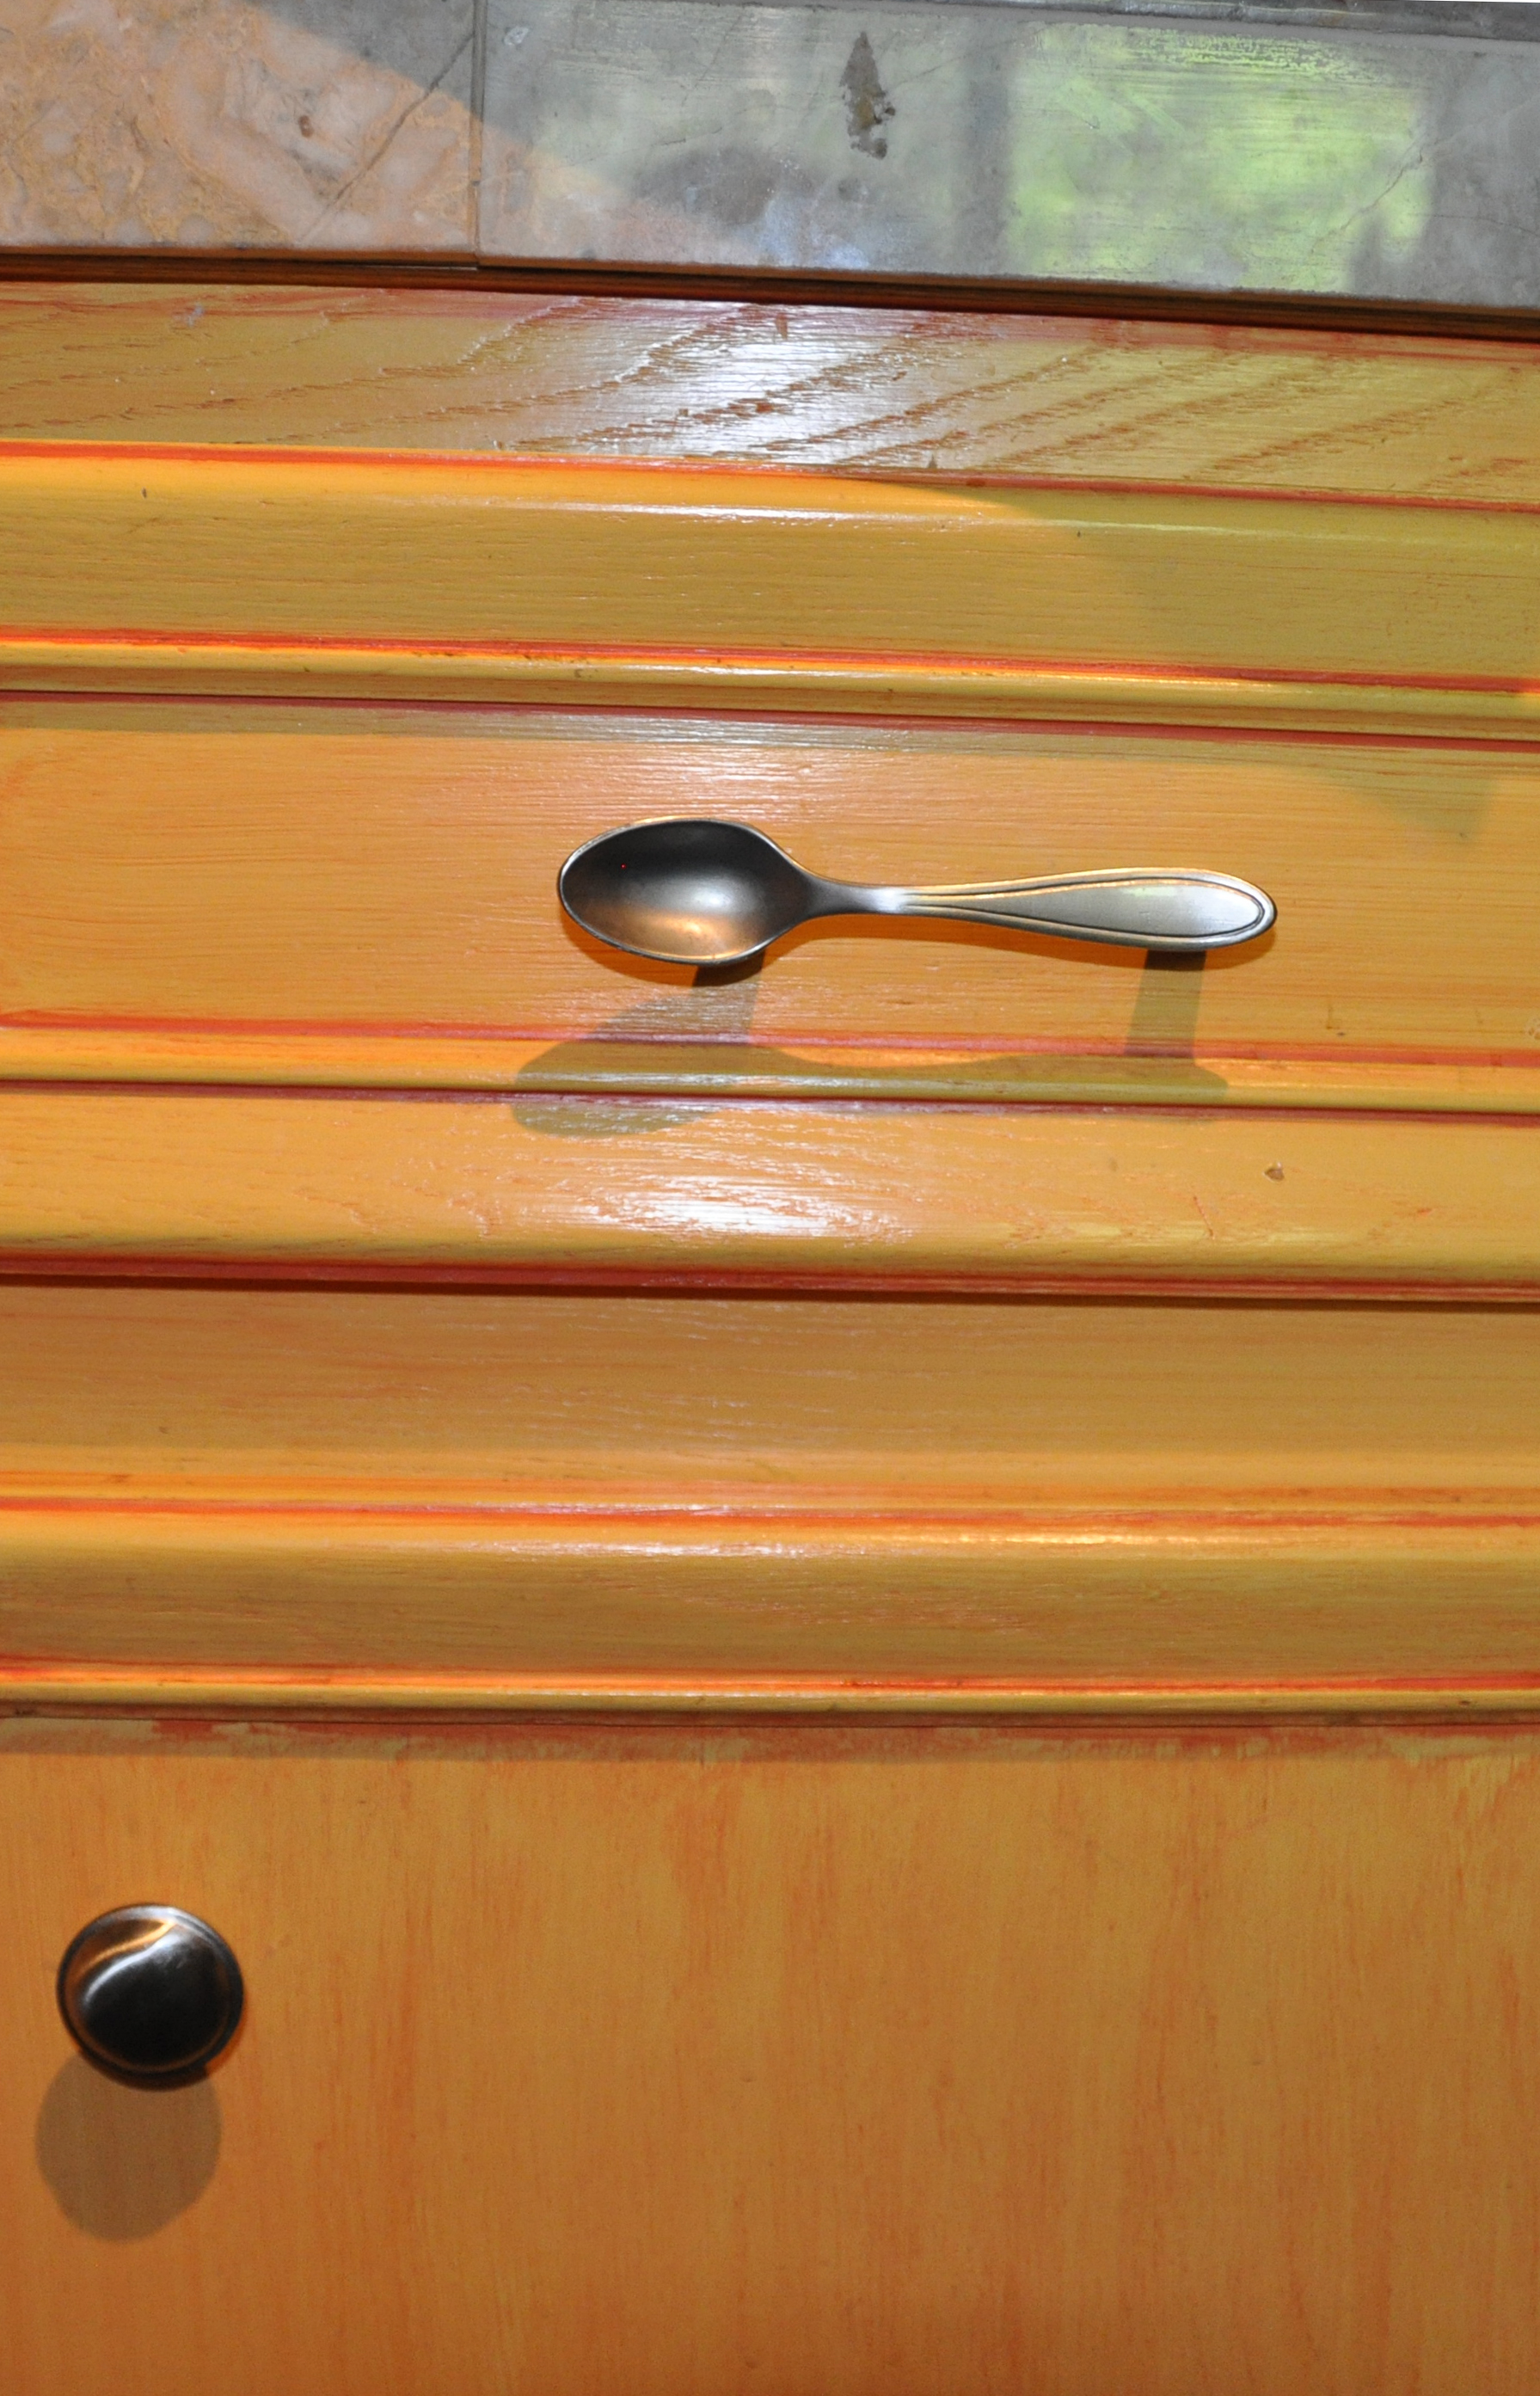
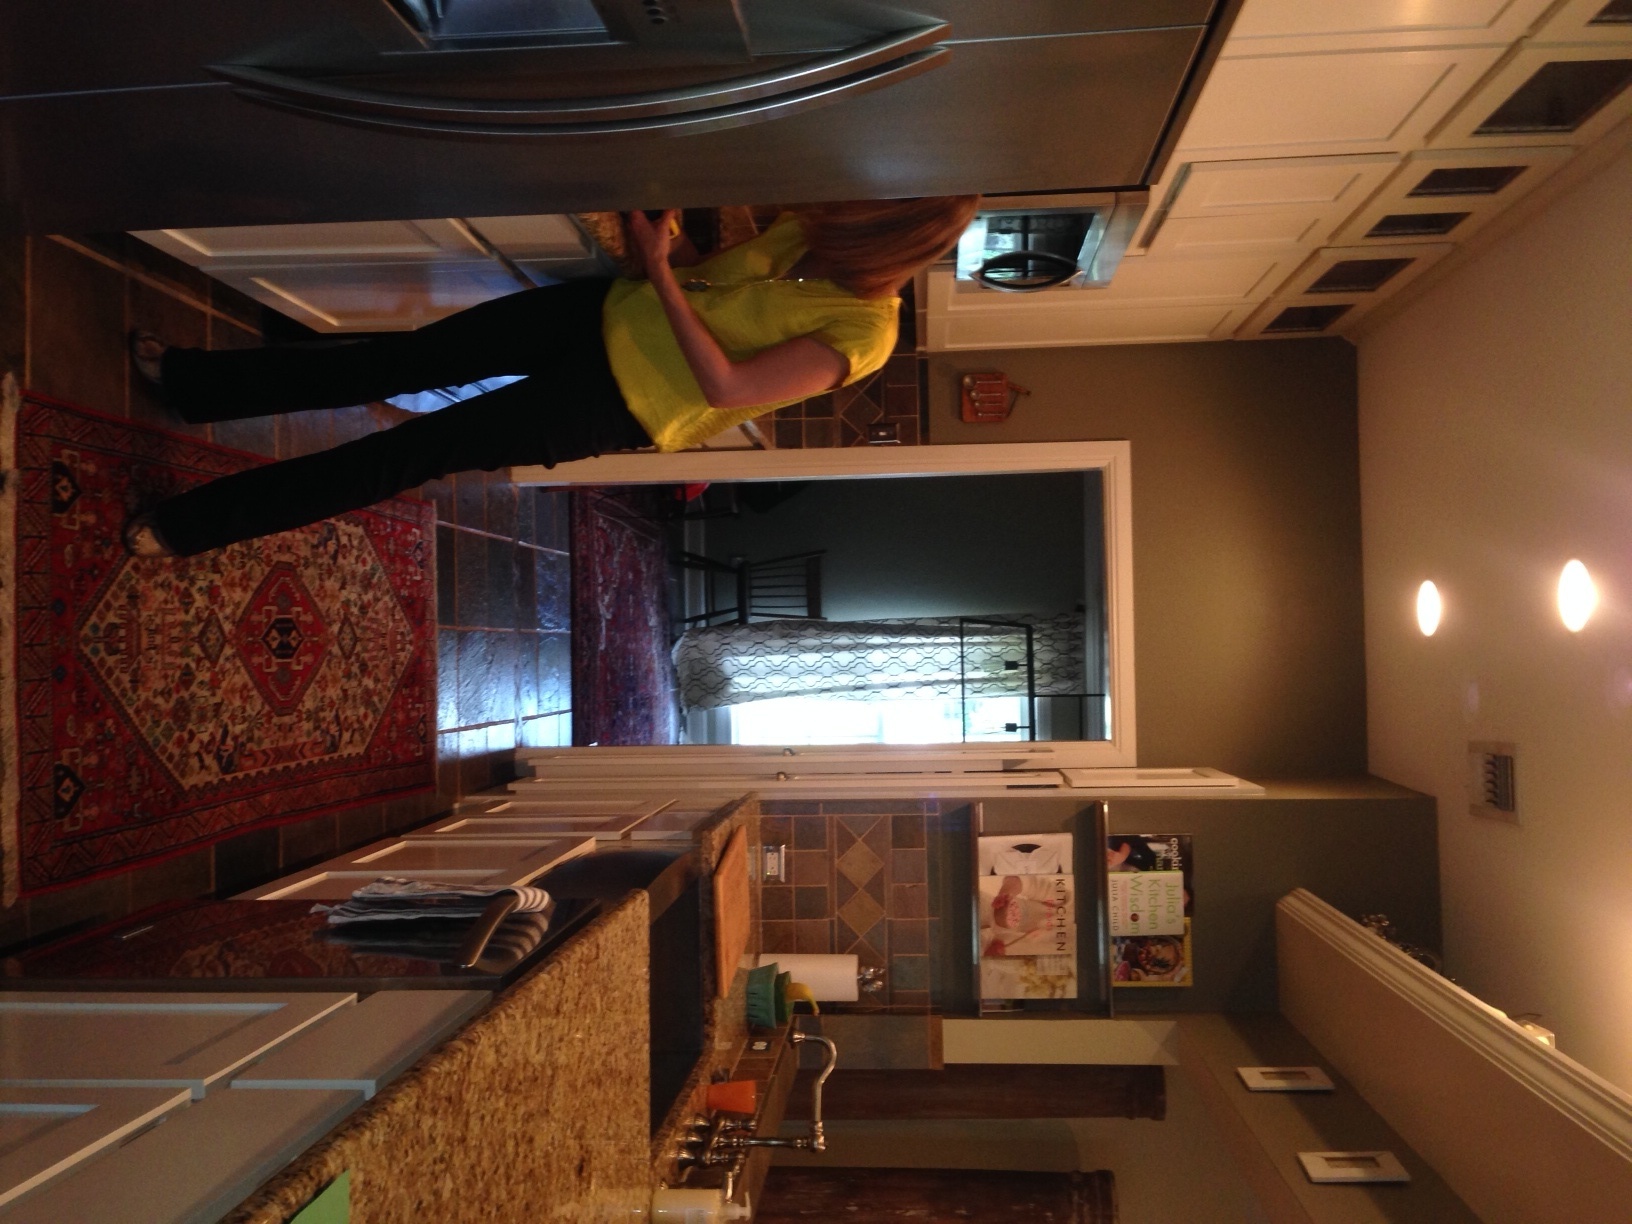
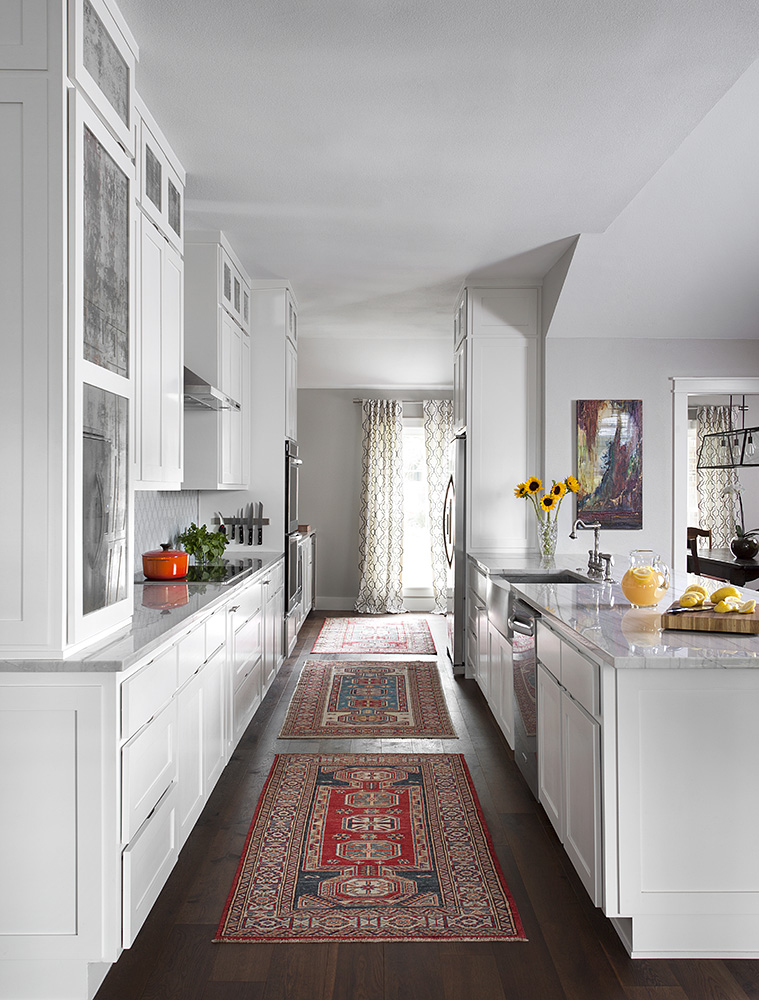
BEFORE AFTER
(this BEFORE photo shows a dated, DIY two-tone paint. The AFTER photo shows the upgraded taupe oil based paint. This simple paint change took the kitchen from 80's trendy to simple elegance)
2. Come up with a budget:
No matter your budget, there is always the possibility to upgrade something. If you only have a couple thousand to spend you can plan to repaint, add knobs and pulls to your cabinets or replace a few appliances. Maybe you have a little more than that and would like new tile for the backsplash to go with your new counter tops and plumbing fixtures. These are all great ways to breathe fresh air into a worn out space on a slightly tighter budget. If you have been saving for an upgrade for years and you are ready to make your dream kitchen come true, then lets give the whole room a face lift! I know the first thing you are thinking is "What is all of this going to cost?" That is a tough question depending on what part of the country you live and your personal skill set. I am a firm believer in hiring professionals to do the work rather than personally laying $80 a square foot mosaic tiles to save $200 in labor just because my neighbor said it was easy and risk a less-than-perfect finished product. When setting your budget, plan to hire professional trades to walk you through the process. They are not cheap but their knowledge and experience are invaluable when it comes to getting the finished product you are striving to accomplish.
 |
 |
BEFORE AFTER
3. Do your Decorative Diligence:
There is a little homework to do, but think of it as helping fine tune your wants and needs through photos and blog posts. Some fun sites to browse are Houzz, Pinterest, and Instagram. Start collecting photos. Make sure to mark on each photo what it is you like about it: paint color, pretty tile, the feel of the space, etc. These are all great tools that you can later share with a professional to give them a better direction on the final product you would like to see.
 |
 |
BEFORE AFTER
4. Hire a professional:
There is no reason to go it alone. Hiring a professional will save you time and money on your project as well as give you that picture perfect room you have been dreaming of all these years. Some professionals that would be an asset to your remodel project are a registered Interior Designer, Architect and Contractor. Interior Designers know more than what counter top will look best with what tile. They are able to see a space as it should be and are familiar enough with the project to help lead you step by step from beginning to end. We are the listeners, the organizers, the planners. It is our job to get you from your inspiration photo to the finished project as seamlessly as possible, all the while presenting you with ideas that you may not have considered before. Depending on where you live you may need to hire an Architect to complete a set of construction documents for permitting purposes. This is only true if you are moving walls, plumbing, lights, etc. Check your neighborhood and city rules before beginning your project. Contractors will save you a lot of headache and stress. Their job is to keep the project moving by making sure each trade is in the right place at the right time. The Interior Designer and the Architect have the ideas and the Contractor has the skill to pull them off.
 |

|
BEFORE AFTER
5. Start shopping:
Now that you have counted your money, figured out what you want, done your research and hired a couple of professionals to lead the way, there is more fun to be had. It is time to start shopping. If you have hired an Interior Designer you can choose if you would like them to present a handful of options to you or if you would like to join them while shopping. Either way is fun for us and for you. We have a system to help lead you through the selections process. No stone will be left unturned. (We really will ask you where the most convenient spot is to reach for your Saran Wrap.) Once selections are made, we organize the information, get the bids lined up with all of the vendors and hand the info over to the contractor for purchasing.
 |
 |
BEFORE AFTER
6. Sit back and watch the magic:
Even though you may be without your kitchen for a couple of weeks up to a couple of months, the final reveal will be worth the wait! Your contractor has placed the orders and the Interior Designer will be in and out periodically to supervise and offer solutions as each trade is brought in to do their part. The next thing you know you are enjoying your wonderful new kitchen!

Remodeling anything in your personal living or office space can have its inconveniences and challenges. We would love to be there to walk you through the process. Paula Ables Interiors is not your average Interior Design firm. We have the knowledge and skills to go from the very beginning of your project to the end, starting with your remodel plans and construction documents all the way through selections. If you are getting remodel fever and want to chat with a professional to help you get things started, give us a call.
(All projects pictured by Paula Ables Interiors, Photography by PAI and Coles Hairston)